In this section, you use Replace Face to change the top of the object to match the shape of the new surface.
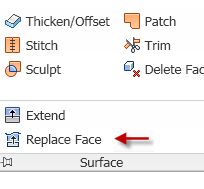
- On the 3D Model tab, Surfaces panel, choose the drop-down arrow to expose all available commands from the expanded panel.
- Select Replace Face.

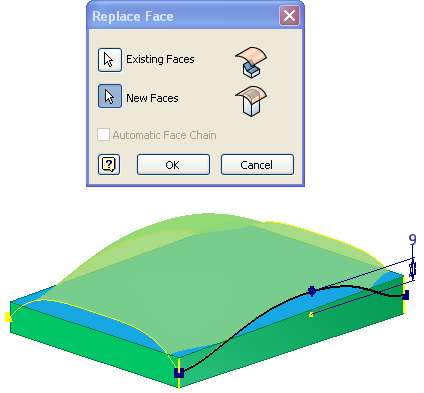
- Select the top planar face to satisfy the Existing Faces selection. Change the selection to New Faces and select the lofted surface to satisfy the New Faces selection.

- Click OK to replace the planar face with the lofted surface.
- In the browser, select the lofted surface and turn off the visibility in the context menu.

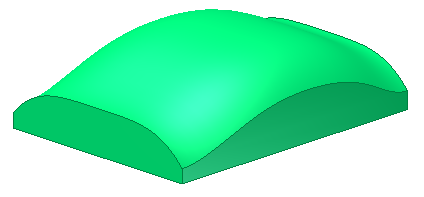
The top of the part now conforms to the shape of the surface.
-
 Start the Shell command.
 - Specify a 2-mm thickness. Do not remove any faces. Use the default Inside shell option.
- Select OK to complete the operation.
- Save the file.