The interior of the part is now hollow. In the next section of the exercise, we use a top-down workflow to split the part into multiple solid bodies.
-
 On the Surface panel, select the Thicken/Offset command.
 - In the graphics window, select the top of the part to satisfy the selection.
- In the dialog box, select Surface for the Output. Enter a distance value of 3-mm. Use the flip direction arrow to offset the surface towards the interior of the part.
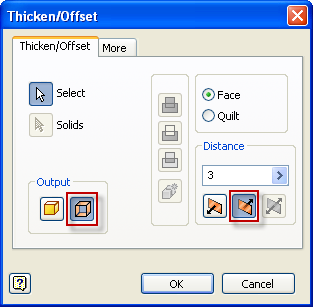
- Select OK to create the offset surface and finish the command.
- Highlight the new surface in the browser to view.
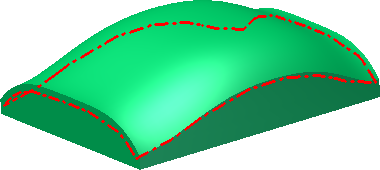
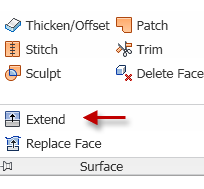
- On the Surface panel, click the drop-down arrow to expose all available commands.
- Select the Extend command in the drop-down.
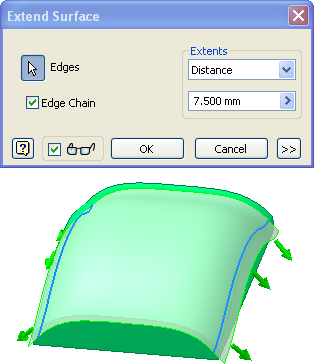
- Select the two outside edges of the offset surface to satisfy the Edges selection. Specify an offset value of 7.5 mm. Click OK to finish the command.
-
 On the Modify panel, click the Split command.
 - In the dialog box, select the Split Solid option.
- Select the offset surface as the Split Tool.
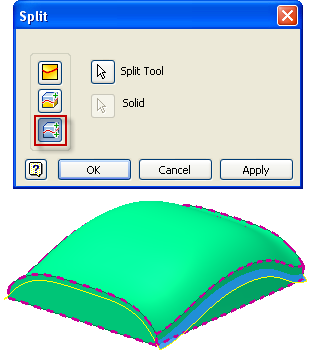
- Click OK to split the part into two solid bodies and finish the command.
- In the browser, turn off the visibility of the offset surface. Because the extended edges are dependent on the offset surface, the originating surface controls the feature visibility.
- Expand the Solid Bodies folder in the browser. There are now two solid bodies present in the file. You can control the visibility and color of each body individually.

- Save the file.