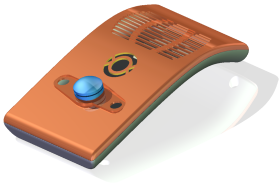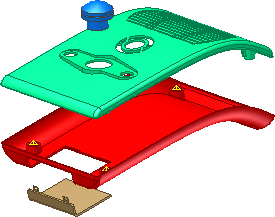
Create a plastic component to explore multi-bodies and plastic features.
- Category
-
Experienced Users
- Time Required
-
60 minutes
- Tutorial File Used
-
PFTutorial.ipt, Control_Button_Solid.ipt, PFTutorial_Revolve_Combine.ipt, PFTutorial_Complete.ipt (finished version)
Create a plastic case for a hand-held music device using the basics of multi-body and plastic feature functionality in Inventor. Automate the creation and editing of common plastic part features.
A multi-body part is a top-down workflow. You create and position multiple solid bodies within a single part document. This technique is especially useful in the design of plastic parts.
A top-down workflow eliminates the need for complex file relationships and projected edges between parts. All editing takes place in a single file. At any time, you can generate unique part files for each body. The generated files are derived parts that are associative to the master design in the original part file.
If you do not want to learn how to use the plastic features commands, use the file PFTutorial_Revolve_Combine.ipt as a start point. Begin the tutorial at the section titled Insert a toolbody using Derive.
Before you begin, open and review the supplied plastic part. To simplify the process of body and feature creation, the tutorial part sketches, work planes, and surfaces are named to help you identify them.

You can complete the tutorial in segments if you save your work before you exit.
Objectives
- Create new bodies using Split.
- Create grills, rule fillets, rests, and lip features.
- Create snap fits and bosses.
- Create a body in place using feature commands.
- Insert a toolbody using Derive.
- Use Move Bodies to position a toolbody.
- Use Combine to perform a Boolean operation.
Prerequisites
- Intermediate level of understanding part modeling.
- See the Help topic “Getting Started” for further information.
- Activate the Tutorials.ipj project file.
Navigation Tips
- Use Next or Previous at the bottom-left to advance to the next page or return to the previous one.