To begin:
- Open Tutorial Files
 Plastic Parts and Features
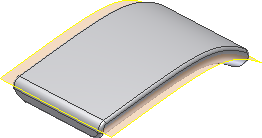
  PFTutorial.ipt, and orient the view to match the following image.
- In the browser, expand the folders for the solid and surface bodies. Note that there is only one solid body present and four surface bodies. One of the surface bodies is visible, and all the others are not visible.

- On the ribbon, click
3D Model tab
 Modify panel
 Shell
. Do not remove any faces. For Thickness, enter 1.5 mm. Click OK to create.
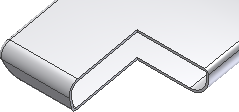
 The following cutaway image shows the results of the shell operation. The cut is not part of the model.

- Click
3D Model tab
 Modify panel
 Split
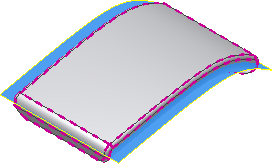
. In the dialog box, choose the Split Solid option. Select the surface named PartingSurface as the Split Tool. Click OK to finish.
Notice that the part icon in the browser changed to represent a multi-body part. The Solid Bodies folder contains two bodies. You can right-click each body and select Properties from the context menu to set visibility or appearance.
 Note: We recommend that you assign a unique appearance to each body in a multi-body part to keep them visually separate. Select each body in the Solid Bodies folder in the browser, and then right-click and select Properties from the context menu. You can also select a body and then choose an appearance override in the Quick Access toolbar dropdown to set the appearance.
Before proceeding, expand the Surface Bodies folder. and turn off the visible surface.
Save the file as PFTutorial_1.