 |
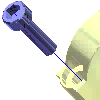
Trails in an exploded presentation view show the paths along which the components are moved to create the view. When you automatically explode a view or add manual tweaks for individual components, you can choose whether to show the trails or hide them. |
After creating tweaks, you can set the visibility of the trails. You can also change the distance of tweak segments, or add trails to existing tweaks to clarify relationships between components.
To show or hide existing trails
You can set the visibility of trails in an exploded view.
- To hide the trails for a component, select the component in the graphics window or browser, right-click, and select Hide Trails.
- To turn off the visibility of a trail segment, select the tweak in the graphics window or browser, right-click, and select Visibility to clear the check mark.
- To turn on the visibility of a hidden trail segment, select it in the browser, right-click, and select Visibility.
To edit existing tweaks
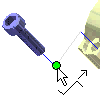
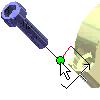
You can edit a tweak in several ways:
- Select a tweak in the browser and change the distance or angle in the edit box at the bottom of the browser.
- Select a trail in the graphics window, right-click, and select Edit from the menu. Specify the changes in the Tweak Component dialog box.
- Drag the endpoint of a trail in the graphics window. If you drag an endpoint to a zero length it is deleted.
Note: When you change the length of a tweak, all associated components and tweaks move appropriately.
To add a trail to a tweaked component
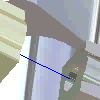
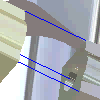
You can add a trail to an existing tweak to clarify relationships between components. For example, you may want to add trails between corresponding features on the components.
- Select the component in the browser or the graphics window.
- Right-click and select Add Trail from the menu.
- Click in the graphics window to set the start point of the trail.
- Right-click and select Done to place the trail.
 Show Me how to work with tweaks and trails