Use segments, and automatically route wires. In this section, you create and import additional wires between connectors. As more wires are added to your design, it is easy to see the need for wire routes to avoid interference between the wires and components.
- With Harness Assembly1 active, on the Cable and Harness tab, click Import Harness Data
 .
. - In the Import Harness Data dialog box, browse to the WireListImport.csv file for the Harness Data File.
- For the Configuration File, browse to the WireListConfiguration.cfg file.
- Click OK.
- Another Import Harness Data dialog box is shown. Browse the data to determine how the harness is designed. The Harness Data and Configuration files controls the information in the dialog box.
- Click OK.
- View the Imported Harness Data log, or click Close.
Seven discrete wires are imported into the harness assembly and connect part 360124:1 to 360575:1.
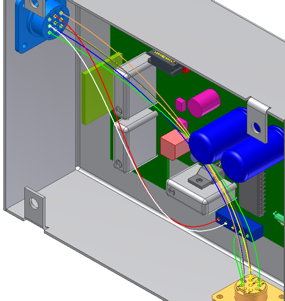
- Click Create Segment.

- Establish spline points that define the segment. The offset value defines the perpendicular offset from the point you click. The default offset of 0.100 inches is too low. Right-click, and select Edit Offset. Change the value to 0.300 inches, and click OK.
- Click the front face of the LTP part between the red and white wires.
A spline point is created at an offset of 0.300 inches from the LTP face.
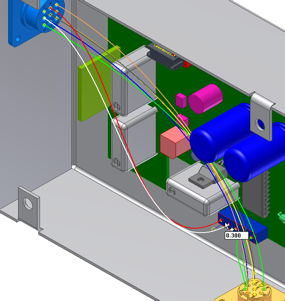
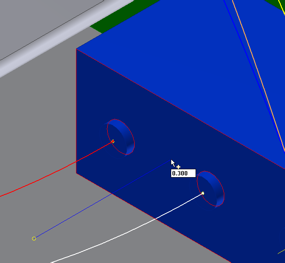
- Click additional points along the enclosure walls. Ensure that the offset is shown to the interior of the enclosure. If the blue offset line is not visible, the point is created on the exterior of the enclosure.
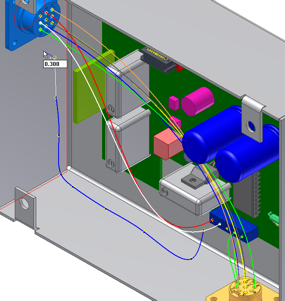
- With enough points defined, right-click and select Continue. The segment is created around the spline points and the Create Segment command is still active.
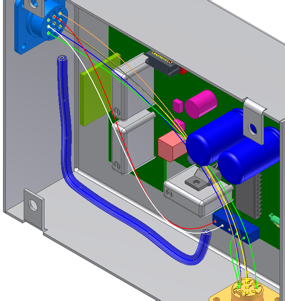 Note: Use the 3D Move/Rotate command to reposition the segment spline points after the segment is created.
 - Create an additional segment. Click the segment spline point as shown.
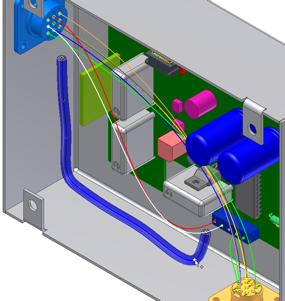
- Click the face of part 360124:1 as shown.
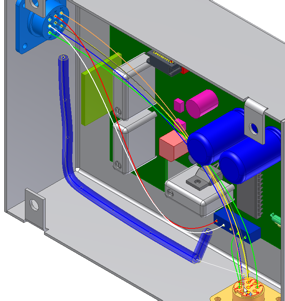
- Right-click, and select Finish. The additional segment is created.
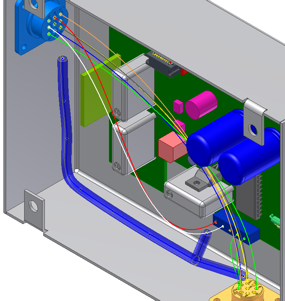
- Click the Automatic Route command.

- Select all seven wires that you previously imported, and click OK. The wires are automatically routed through the nearest segment.
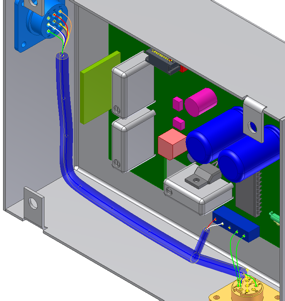
- Exit Harness Assembly1, and save your file and the associated parts.