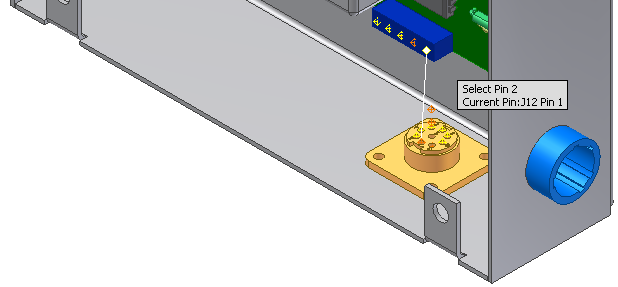
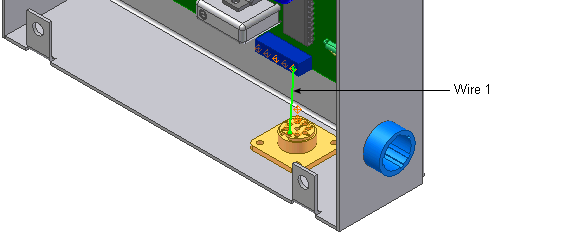
Provide a wire ID, select the wire to connect, and then select the pins for each end of the wire.
-
 On the ribbon, click
Cable and Harness tab
 Create panel
 Create Wire
.
 - On the Create Wire dialog box, accept the default Wire ID (Wire1).
The default Wire ID is “Wire” plus an incremental number starting with 1.
- From the list of wires, select the wire type to insert. Use the arrows to select the following category and wire name from the lists.
Category: Generic
Name: 22AWG-GRN
- Verify that the Pin 1 button is depressed. If it is not, click the button.
- In the graphics window, move the cursor over the pins in part 360124. As you select points for a wire, a tooltip displays the RefDes and pin number. When the tooltip displays as U3 Pin1, click the work point representing the start pin for the wire.

- Pause the cursor over the first pin on part LTP.
As you select the second pin for a wire, a preview wire is displayed along with the tooltip.

- When the tooltip is displayed as J12 Pin 1, click the point to select the second pin.
- On the dialog box, click OK to create the wire.
