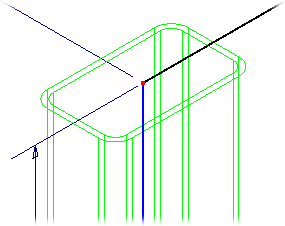
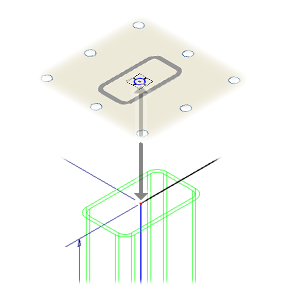
By default, the tube profiles are centered on the selected sketch lines.

The orientation indicator corresponds to the selected sketch line.

- Click the middle radio button to the right of the profile preview image.
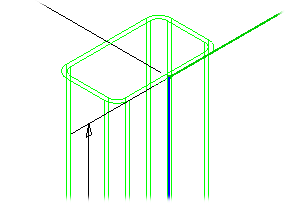
The profile preview in the graphics window shifts position relative the sketch line to match the position of the orientation indicator.

- Click the center radio button to return to the default orientation.
The previews update accordingly.
The Offset fields control the distance by which the profile is offset from the selected sketch line.
- Enter 300 mm in the Horizontal Offset field (labeled with the Horizontal Offset icon).


The Mirror Frame Member command controls the profile orientation relative to the selected geometry, in this case a sketch line.
- Click Mirror Frame Member, and notice the offset direction swaps in the graphics window.

- Return the profiles to the original orientation: click Mirror Frame Member again, and enter 0 in the Horizontal Offset field.
