When creating an iCopy definition, test the iCopy with just the skeleton. Test again after you create all the derived parts. Then finally test after placing any other components. You test the iCopy definition by using it with the iCopy command to verify it updates as expected.
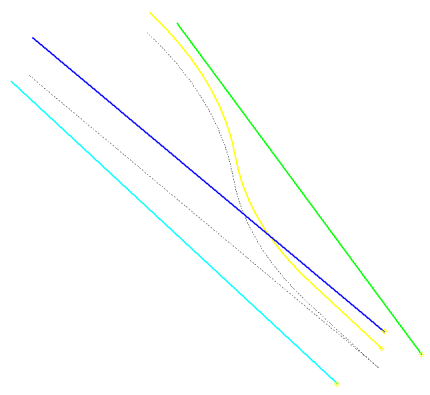
- Open Target.iam.
-
 On the ribbon, click the
Assemble tab
 Component panel
 iCopy
command.
 - Select Frame.iam in the Select Source Assembly dialog box. Click Open. The Constrain iCopy dialog box displays.
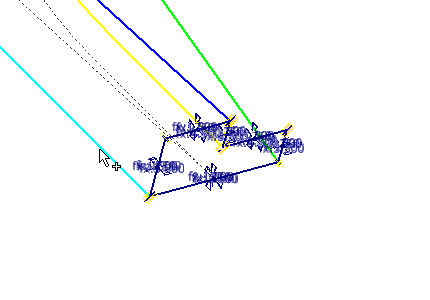
- Select the work point at the end of the cyan (light blue) line for the Lower left point.
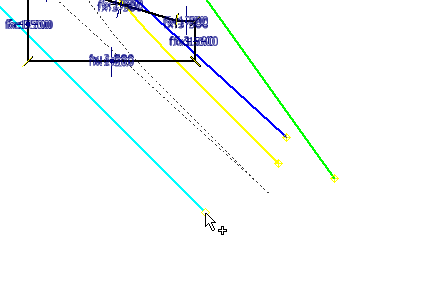
- Select the work point at the end of the green line for the Lower right point.

- Select the work point at the end of the blue line for the Upper left point.
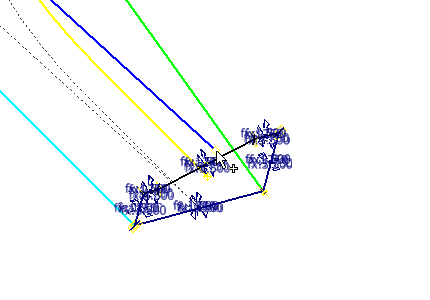
- Select the work point at the end of the yellow spline for the Upper right point.
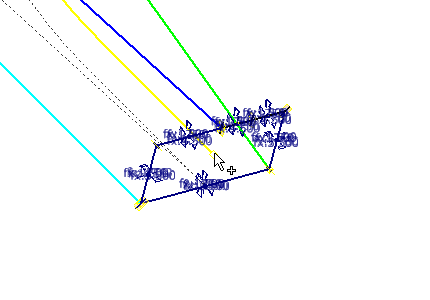
- Select the Path pattern tab to specify path information.
- Select the cyan (light blue) line to use as the path for the pattern (the Path button is selected automatically). The Work Plane is selected automatically based on the selected path.
- Enter 8 in the Instance number field.
- Enter 2500 mm in the Offset field.

- Click Next to display the iCopy: File Names dialog box. The Copy / Reuse iCopy Components dialog box does not display because there are no components to reuse in the iCopy definition.
- Click OK to complete the command. The iCopy results are created as shown. If the iCopy is not successful, return to the iCopy template and review the steps to create it.

- Close the file. Do not save changes. This assembly is used for further testing.