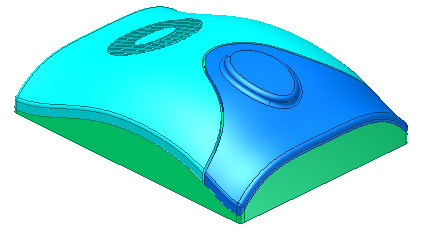
Perform advanced modeling with splines and surfaces.
- Category
-
Experienced Users
- Time Required
-
30 minutes
- Tutorial File Used
-
spline_1_start.ipt, spline_1_complete.ipt
Note: Click and read the required Tutorial Files Installation Instructions athttp://www.autodesk.com/inventor-tutorial-data-sets-2014 . Then download the tutorial data sets and the required Tutorial Files Installation Instructions, and install the datasets as instructed.
This tutorial explores the tools available for creating and controlling the shape of splines. Surfaces are used to shape the part and to define the body split contours.
Objectives
In this tutorial, you learn how to:
- Create and define splines.
- Loft with a rail.
- Create surfaces.
- Replace a face.
- Extend surface edges.
- Split the part into multiple bodies.
- Use the Emboss command.
- Create a Grill.
Prerequisites
- Understand how to open, create and save part files in your active project.
- Understand the fundamentals of solid modeling.
System Settings
On the Application Options, Sketch tab enable the following settings:
- Edit dimension when created.
- Autoproject edges for sketch creation and edit.
- Autoproject part origin on sketch create.
The Grid lines display is not enabled in any of the sketch environment images in this tutorial.
Note: You can specify the icon color scheme in Application Options. The appearance of the icons presented in this tutorial may differ if you are not using the color scheme noted in the following image. 
Navigation Tips
- Use Next or Previous at the bottom-left to advance to the next page or return to the previous one.