- Click
 (), and select
  Gate Properties from the drop-down menu to open the Gate properties dialog.
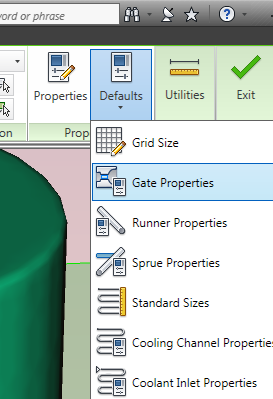
- Select Cold in the Gate type drop-down menu and Circular Tapered in the Gate shape drop-down menu.
- Enter a Start diameter (1) of 4 mm, and an End diameter (2) of 2 mm.
- Select Horizontal by length from the Orientation drop-down menu, then click OK.
- Click
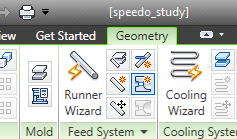
 () and deselect Injection Cones.
This will hide the injection location, which will make it easier to create the gates.
- Click
 () to open the Create gate dialog.
- Select Injection Location 1 from the Select drop-down list in the Injection location section.
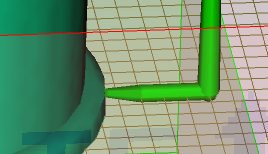
- Select Defined by coordinate and move the cursor over the design grid towards the runner. A thin yellow line is drawn from the injection location to the grid point nearest to the cursor. A small yellow sphere indicates the end point of the gate.
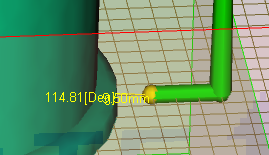
- Click the end of the runner. The gate has been created.
- Right-click on the grid and select Finish Create Gate from the menu, or click OK in the Create Gate dialog.
- Click Finish Geometry on the Geometry tab to close the tab.