You can use Split Face on any non-family instance. The Split Face tool splits the selected face of the element; it does not change the structure of the element. After splitting the face, you can use the Paint tool to apply a different material to this section of face. See Applying a Material to the Face of an Element.
Example

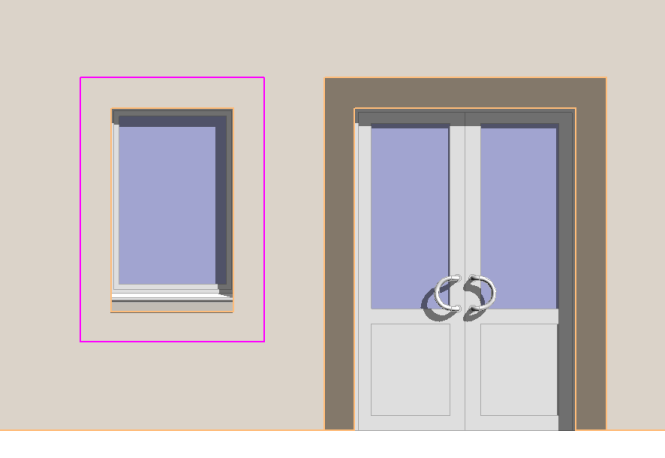
A wall with a split face (around the window) before painting

A wall with a split face (around the window) after painting
To split a face
- Click Modify tab
 Geometry panel
 (Split Face).
 - Place the cursor on the element face to highlight it. You may need to press Tab to select the desired face.
- Click to select the face.
- Sketch the face area to split. Note: The sketch must be in a closed loop inside the face or an open loop that ends on the boundary of the face.
Example
In the following example, the wall around the window is split, so that it can be painted to match the border around the door.
- Click
 (Finish Edit Mode).
Tip: You can split the face of a column. However, if you plan to have multiple instances of the split-face column in your project, create the column in the Family Editor and apply the split there.