Dividing a View Across Multiple Sheets

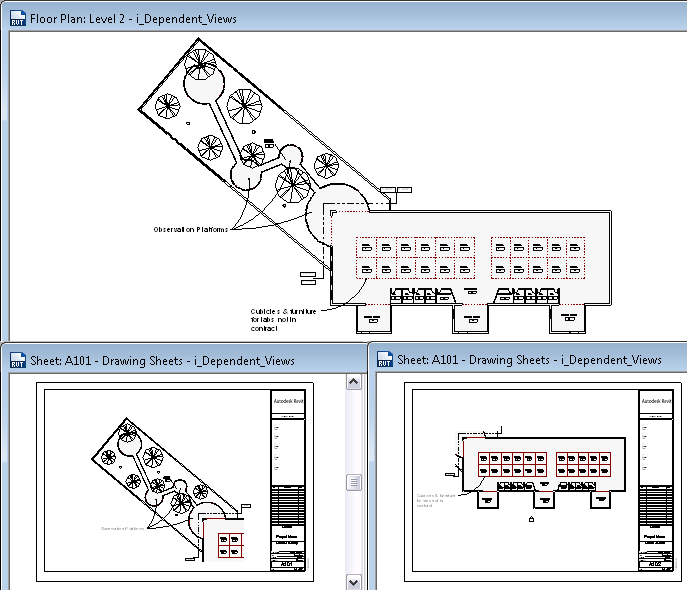
Sometimes a large view does not fit on a single sheet. In this case, you must create multiple sheets for the view, divide the view into parts, and show one part on each sheet. Or perhaps a view is too tall or wide for a sheet, and you want to show parts of the view next to each other on the same sheet.

To address these issues, use dependent views as follows.

To divide a view across multiple sheets

  1. In a project, create and prepare the view that you want to divide into parts.

    Add all annotations, details, dimensions, and other information required. See Document and Present the Project.

  2. Create dependent views.

    See Creating Dependent Views.

    • In each dependent view, use crop regions to show the part of the model to display in that view, and the annotations to include. If any unwanted annotations or model elements display in a dependent view, right-click the element, and click Hide in viewElements.
    • In the primary view, add matchlines to indicate where the view is split.

      See Adding Matchlines for Dependent Views.

  3. Create the sheets on which to place the dependent views.

    See Adding a Sheet.

  4. Add the dependent views to their respective sheets.

    See Adding Views to a Sheet.

  5. (Optional) Add view references to the primary view.

    View references indicate the sheet on which each dependent view displays. For instructions, see Navigating Primary and Dependent Views.
Example

Revit Structure

Example