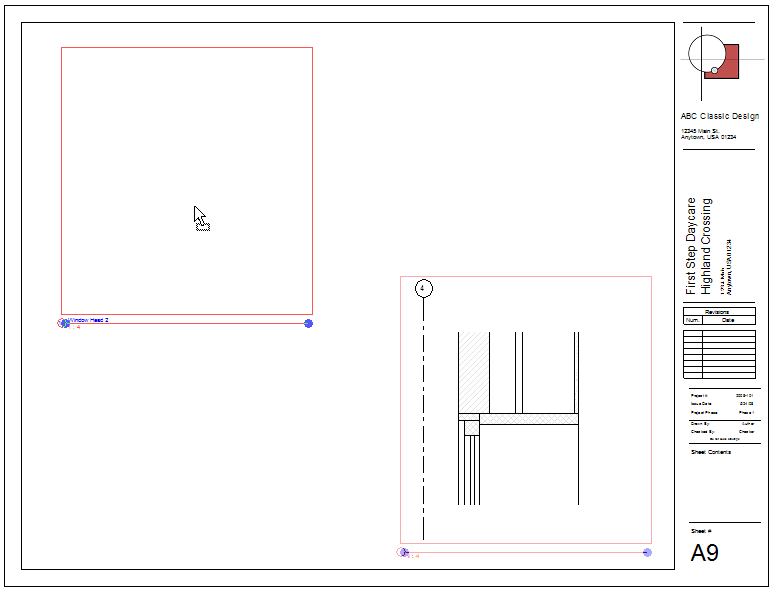
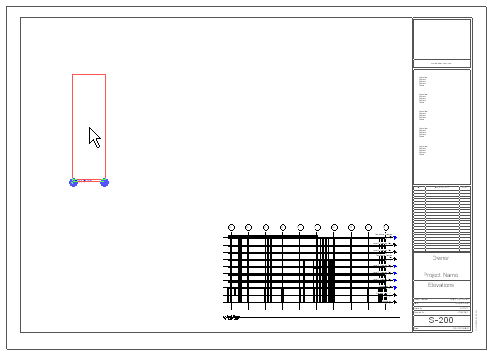
You can add one or more views of a building to a sheet, including floor plans, site plans, ceiling plans, elevations, 3D views, sections, detail views, drafting views, and rendered views. Each view can be placed on one sheet only. To add a particular view to multiple sheets in a project, create duplicate views, and place each one on a different sheet.
Note: You can also place legends and schedules (including view lists and sheet lists) on sheets. Legends and schedules can be placed on multiple sheets. See
Adding a Schedule to a Sheet.
To add views to a sheet
- Open the sheet.
- To add a view to the sheet, use one of the following methods:
- In the Project Browser, expand the list of views, locate the view, and drag it onto the sheet.
- Click View tab
 Sheet Composition panel
 (Place View). In the Views dialog, select a view, and click Add View to Sheet.
- As you move the cursor over the sheet in the drawing area, a viewport for the selected view moves with it. Click to place the viewport in the desired location. Use the Aligning Views on a Sheet for precise placement on sheets.
- Repeat Steps 2 and 3 to add more views to the sheet, if desired.
- If needed, you can modify the individual views on the sheet as follows:
- To change the view title that displays on the sheet, double-click the title, and edit it. See View Titles on Sheets.
- To move the view to a new location on the sheet, select its viewport, and drag it. You can align views to grid lines for precise placement. See Aligning Views on a Sheet.
You can now do any of the following, as explained in Modifying a View on a Sheet:
- Change the scale of the view.
- Add dimensions to the view.
- Add text notes to the view.
- Pan the view.
Related topics
 Revit Structure
 Revit Structure
 Sheet Composition panel


