- Click Analyze tab
 Loads panel
 Loads.
 - Click Modify | Place Loads tabLoads panel Area Load.
- On the Properties palette, select a value for Load Case. For information about Load Case, see Adding a Load Case or Load Nature.
- For the Orient to parameter, select Project or Work Plane.
- Sketch area loads as appropriate in your model. For example, select the rectangle sketch tool and click the corners of a floor. For information about sketching and sketch tools, see Sketching.
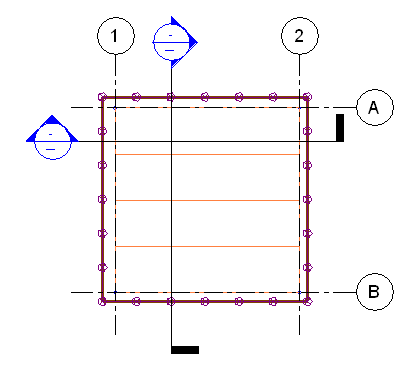
An area load over a structural floor after picking floor corners. Load is oriented to project and in the negative z direction.
Note: Load symbols appear in 3D analytical views or in elevation as arrow lines, like the area load representation shown.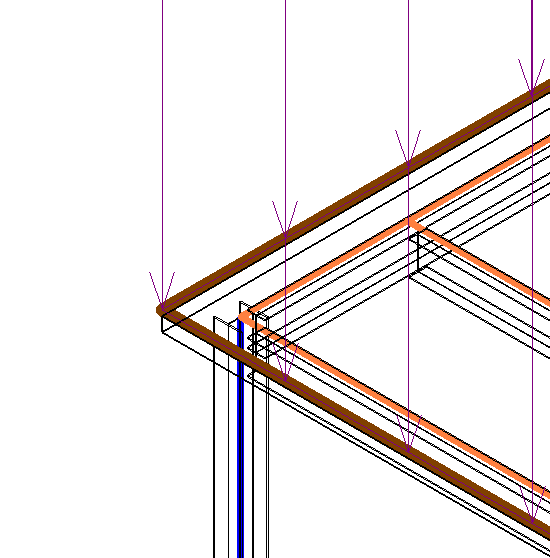
Area Load with Host
- When you finish sketching, click Create Area Load Boundary tabArea Load panelFinish Area Load.
- Click Analyze tabLoads panel Loads.
- Click Modify | Place Loads tabLoads panel
 Hosted Area Load.
 - On the Properties palette, select a value for Load Case. For information about Load Case, see Adding a Load Case or Load Nature.
- For the Orient to parameter, select Project or Work Plane.
- Select a component over which you wish to place the load instance, such as a structural floor. Revit will draw the area load over the extent of the element.
Only the analytical model is available to be selected for placement of hosted loads. The physical geometry of components will not accept the load.