With the Cut Geometry tool, you can pick and choose which geometry gets cut and which does not, regardless of when you created the geometry. (Void geometry only affects existing geometry. If you need the void to act upon solids created afterwards, use the Cut Geometry tool.)
You typically cut geometry with voids. However, you can cut certain models with solids. These models include conceptual masses and model family instances. See Cutting geometry with solids.
You cannot cut system, detail, and profile families with solids.
To cut geometry with voids
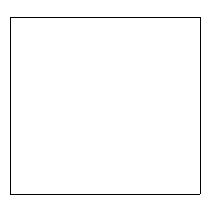
- In the Family Editor, create solid geometry; it can be a single primitive or some joined primitives.
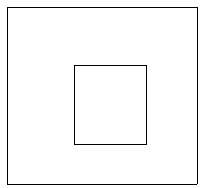
- Create a void through the solid geometry.
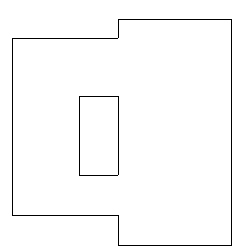
- Create another solid geometry shape and join it to the existing geometry.
- Click Modify tab
 Geometry panel
 Cut drop-down
 (Cut Geometry) and select the void you created.
 Notice the cursor changes shape.
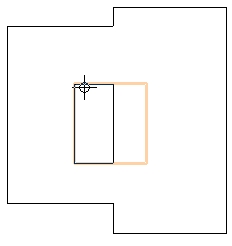
- Select the geometry you created in Step 3.
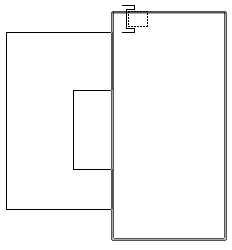
Revit cuts the selected geometry.
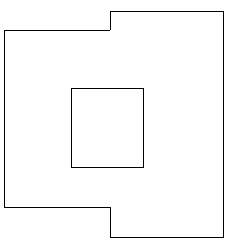
Cutting with voids in families when loaded
You can cut objects in a project when a family with unattached voids is loaded. Objects that can be cut include: Walls, Floors, Roofs, Ceilings, and Structural Framing, Structural Columns, Structural Foundations, and Generic Models.
- To enable this, open the Revit family with unattached voids and click Create tab
 Properties panel
 Family Category and Parameters.
 - In the Family Category and Parameters dialog Select Cut With Voids when Loaded and click OK.
- Load the family into the project and place it.
- Click Modify tab
 Geometry panel
 Cut drop-down
 (Cut Geometry).
 - Select the object to be cut.
- Select the instance with which to cut.