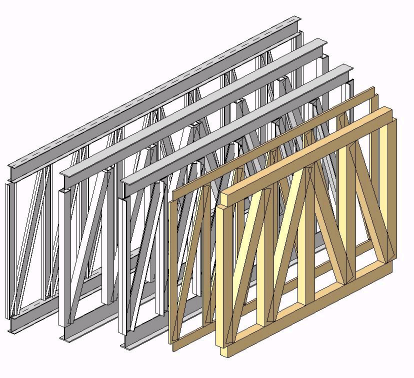
Revit transforms the truss layout to fit the span of the truss and creates framing elements that correspond to lines in the transformed truss layout. For more information, see Creating a Truss Family.
To add a truss
- Open a view of the building level where you want to add the truss.
- Click Structure tab
 Structure panel
 Truss.
 - On the Properties palette, from the Type Selector drop-down, select the truss type.
- Click Modify | Place Truss tab
 Draw panel
 (Line) to specify the start point and endpoint for the truss, or click
  (Pick Lines), and then select an edge or line to which you want to constrain the truss model.
