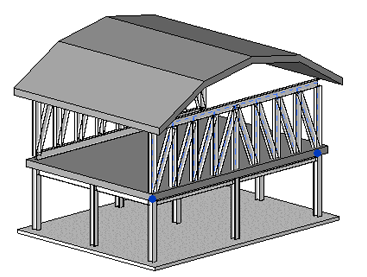
Attaching a truss to a roof or structural floor will force the truss to conform its chords to that element. The following rules apply to attached trusses.
- Chord locations are dependent on their attachments and bearing chord assignments.
- If the top chord of a truss is attached, its location line is the bottom face of the element to which it is attached.
- If the bottom chord of a truss is attached, its location line is the top face of the element to which it is attached.
- If only the non-bearing chord is attached, the bearing chord location will be the current location line of the unattached chord.
- If only the bearing chord is attached, the non-bearing chord location will be the truss location line offset by the Truss Height property. The offset represents a positive distance for top chords and a negative distance for bottom chords.
- The location line of the truss chord must be below (when attaching the top chord) or above (when attaching the bottom chord) the roof or structural floor.
- The top chord must always have a higher elevation than the bottom chord. They may meet, but never cross.
- The width of the roof or structural floor must equal or exceed the width of the truss. Trusses cannot be attached to structural floors or roofs that do not completely cover them.
To attach a truss
- Verify that roof and structural floor visibility is turned on in the current view.
- Select one or more trusses to attach.
- Click Modify | Structural Trusses tab
 Modify Truss panel
 (Attach Top/Bottom).
 - On the Options Bar, select Attach Trusses: Top or Bottom for the appropriate truss chord being attached.
- Select the roof or structural floor.
Selecting the Roof/Structural Floor The Attached Truss Top Chords 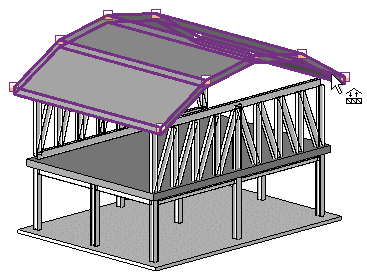
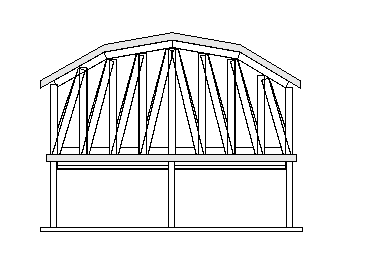
Bottom Chords 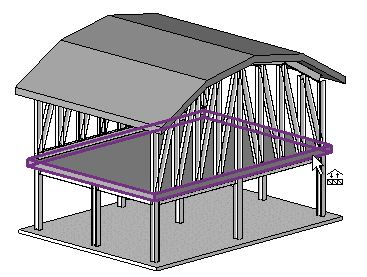
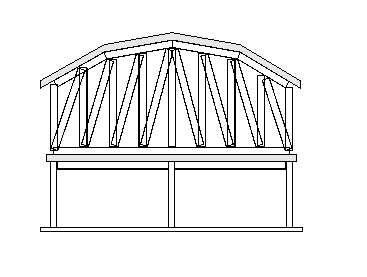
The truss is attached.
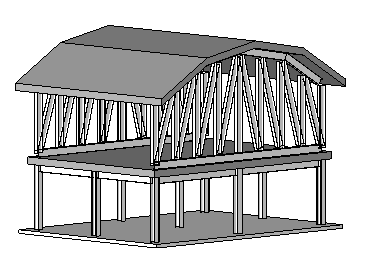
Note: Not all truss families properly attach to a roof or structural floor. For the chord to conform to the shape of the corresponding roof or structural floor, the layout family's chord sketch lines must coincide with the top reference plane. The roof/structural floor profile defines the transformation of the family's reference plane, not the shape of the chord. The truss profile shape is not discarded. The original profile will display if the truss is later detached.
To detach a truss
- Select the attached truss.
- Click Modify | Structural Trusses tab
 Modify Truss panel
 (Detach Top/Bottom).
 - Select the roof or structural floor from which to detach.
- (Optional) Click Detach All on the Options Bar to detach top and bottom chords.
The truss detaches, retaining its original profile shape.