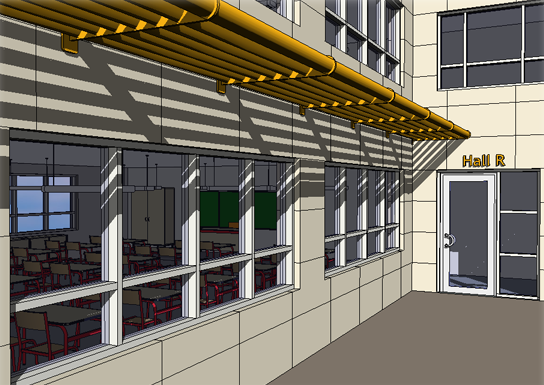
- Open a plan, section, or elevation view.
- Click View tab
 Create panel
 3D View drop-down
 Camera. Note: If you clear the Perspective option on the Options Bar, the view that is created is an orthographic 3D view and not a perspective view.
 - Click in the drawing area to place the camera.
- Drag the cursor to the desired target and click to place it.
Revit creates a perspective 3D view and assigns a name to the view: 3D View1, 3D View2, and so on. To rename the view, in the Project Browser right-click it, and select Rename.
Note: When used in a workshared project, the 3D view command creates a default 3D view per user. The assigned name to this view is {3D - username}.
You can use a section box to limit the viewable portion of a 3D view.
Example
