 Revit Structure
 Revit Structure
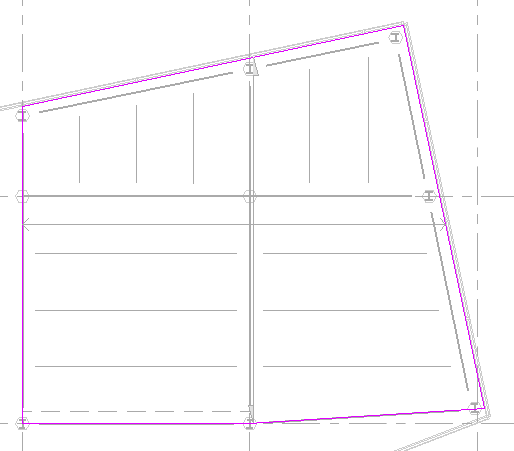
You create structural floors and decks by sketching them. You can sketch lines for the slab edges either by picking walls or by using the Line tool. Typically you will sketch a floor in a plan view, although you can sketch it in a 3D view, provided the work plane of the 3D view is set to the work plane in which you want to place the structural floor. The top of the structural floor is offset relative to the level at which it is placed. For information about Height Offset from Level, and other Structural Floor parameters, see Structural Floor Properties.
For information about structural floors and hidden lines, see Display of Hidden Lines of Structural Concrete Components.
To add a structural floor
Where is it?
 Build panel
 Floor drop-down
 Structure panel
 Floor drop-down


Related topics