In this step, we'll configure Automatic Mesh Sizing for our model. (This will be easy...)
1. Switch to the Mesh task by clicking Mesh Sizing from the Setup tab:

2. Click Autosize on the Automatic Sizing context panel:

What it should look like...
You should see blue dots along every edge in the model. These indicate where the nodes will appear. Here is how to preview the mesh before running the simulation...
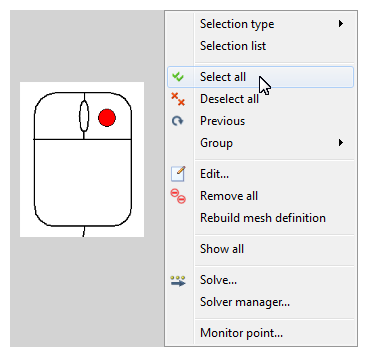
3. Right click off the model, and click Select all.
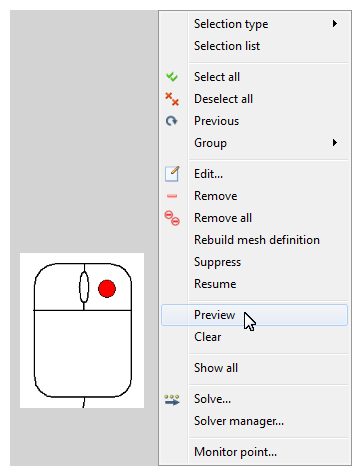
4. Right click off the model again, and click Preview.
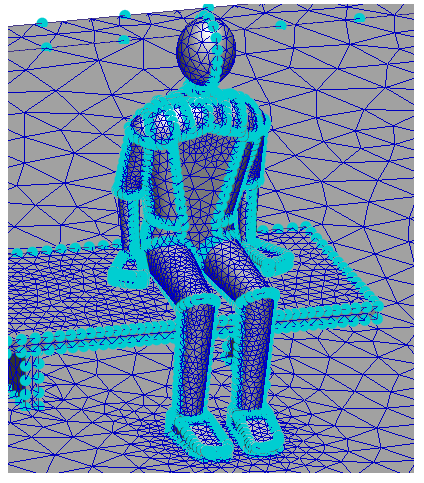
The mesh on every surface of the model is displayed:
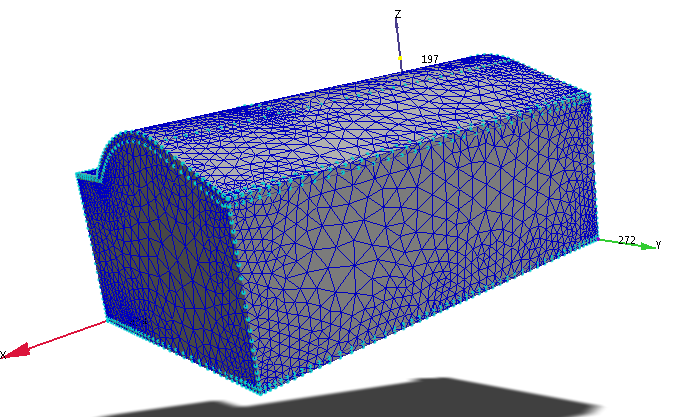
5. Rotate the model, hide parts, and zoom in to see how the mesh will look on the occupant.
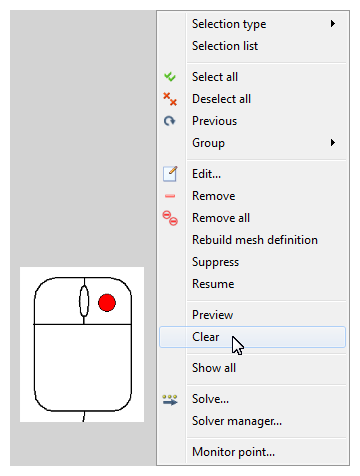
When finished, right click off the model and click Select all. Right click again, and click Clear. This removes the preview display from the model.

