In this step, we'll enable the physical models (heat transfer) that we'll use for these simulations.
1. Click Solve from the Setup tab:

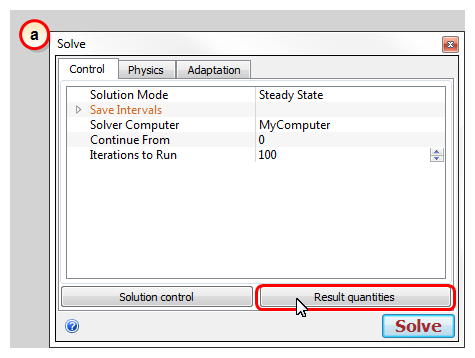
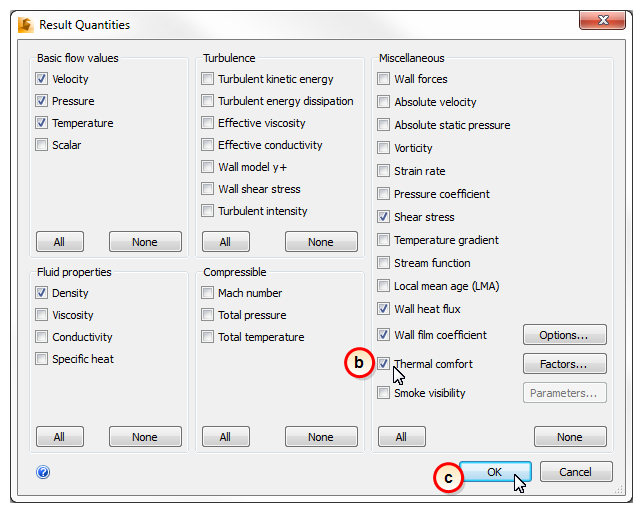
2. Select the Thermal Comfort result quantity:
- a. Click the Result quantities button.
- b. On the Results quantity dialog, check Thermal comfort.
- c. Click OK.
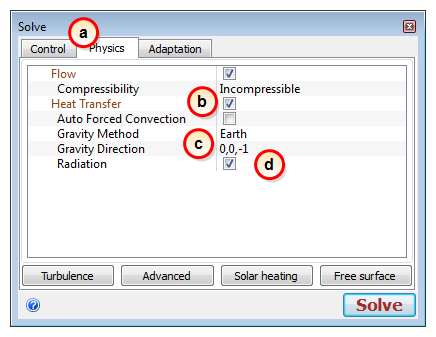
3. Define the Physical model:
- a. Click the Physics tab.
- b. Check Heat Transfer.
- c. Change the Gravity Direction to 0, 0, -1
- d. Check Radiation.
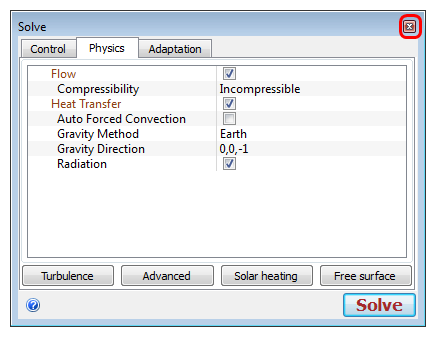
4. Close the Solve dialog by clicking the "X" in the top right corner.
Note: Why didn't we just run the model? We could have, but then we would have to do these steps again when we run the Winter scenario. In the next steps, we'll clone this model to create the Winter scenario, change a few boundary conditions, and then run them both.
Note: Now that the Summer scenario is completely set up, it's a good time to rename the scenario to something a little more descriptive than "Scenario 1."
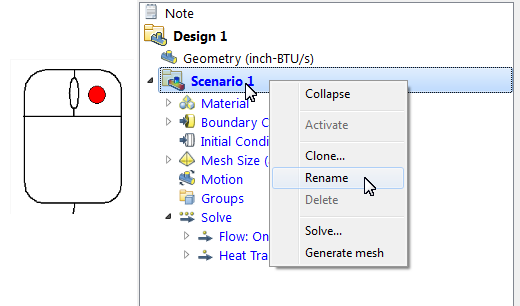
5. In the Design Study bar, right click on Scenario 1, and click Rename.
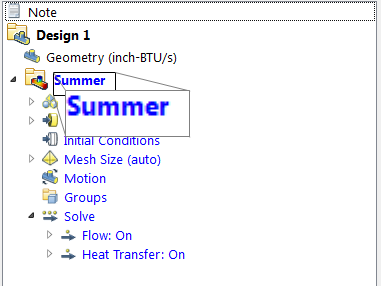
6. Type in "Summer" to replace "Scenario 1 ."
7. At this point, we should save the design study. Click the Save icon in the Quick Access toolbar.
