The Materials, Boundary Conditions, Initial Conditions, Manual Meshing, Motion, and Solve dialogs use a Property Table to enter settings.
In every task, the table is divided into two columns:
- The left column contains Properties
- The right column contains Values
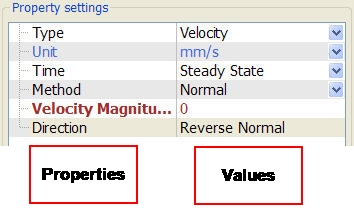
The Property Table is designed to provide a very consistent approach for specifying analysis data which is also very space efficient.
There are several types of menu or selection items that are found on the quick edit dialogs:
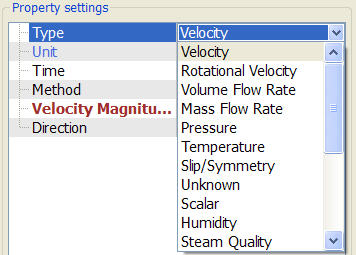
Menu List
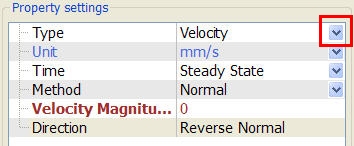
Menus contain several choices for a property. Click anywhere in the field to expand the menu list:
Buttons
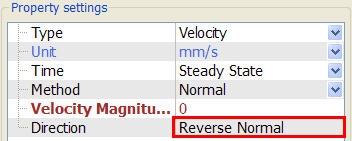
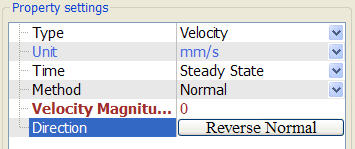
Buttons are action items that either apply a command directly (such as to reverse the direction of the normal velocity) to the entry or launch another dialog (such as the Material Editor). They appear as a word without any symbol in the value field. When clicked, the button appears, and the command is invoked:
Pop-Out dialog
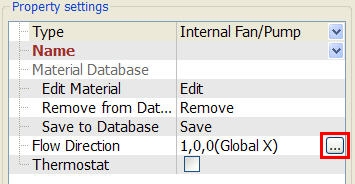
Several settings require a direction or a graphical input. Examples include the flow direction for an internal fan in Materials or the bounds location for flow-driven motion on the Motion dialog.
These entries are made using a pop-out dialog, and are marked with a “...” symbol in the value field. Click anywhere in the value field to bring up the pop out dialog:
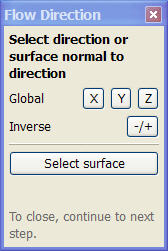
Use the pop-out to specify the required direction or other input. Several have a way to graphically select a direction by picking on the model. This is activated with the “Select Surface...” button. When finished, simply click anywhere in the property table to close the pop up.
Entry Field
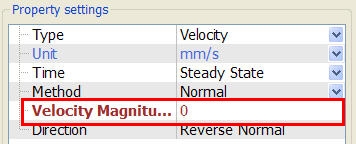
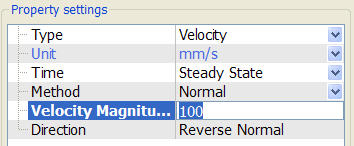
Entry fields require the user to key-in a value. The text in the property column is red and bolded. Simply click in the field, and key in the desired value. Click elsewhere in the dialog to finish the entry:
Check Box
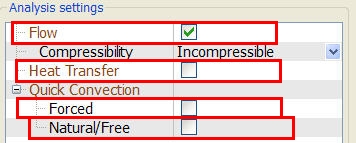
Check boxes are used as a toggle between two choices for a setting:
- Unchecked = Off
- Checked = On
Expanding Menus
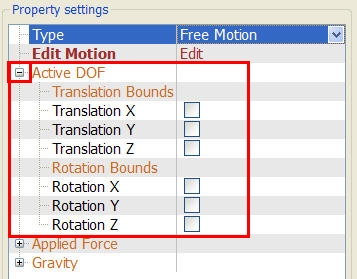
In several dialogs, menus expand and collapse, based on the selections. The Free Motion dialog in the Motion task is a good example:
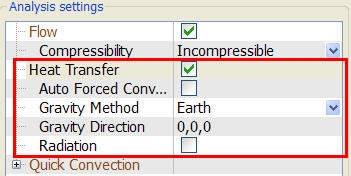
In some cases, checking an option will expand the menu. The Heat Transfer selection on the Solve dialog is an example:

