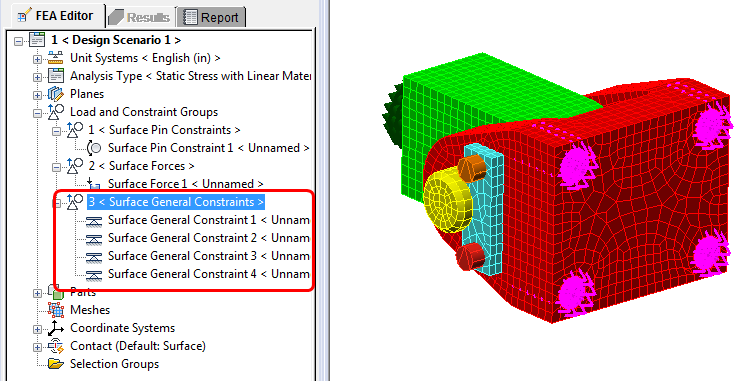
In this step, we constrain the clevis by assigning fixed constraints to the four bolt holes.
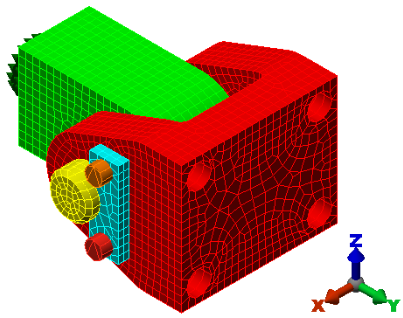
- Using the ViewCube, click the corner where the Top, Right, and Back sides meet. A light blue highlight will appear at the corner when the cursor is pointing to it.

Clicking this corner produces an isometric view that shows the mounting holes in the base of the clevis. The view should be oriented as shown in the following image:
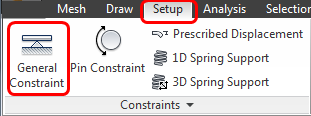
- Click Setup > Constraints > General Constraint.
- Select an inner surface of one of the bolt holes. While holding Ctrl, select the inner surface of the other three holes.
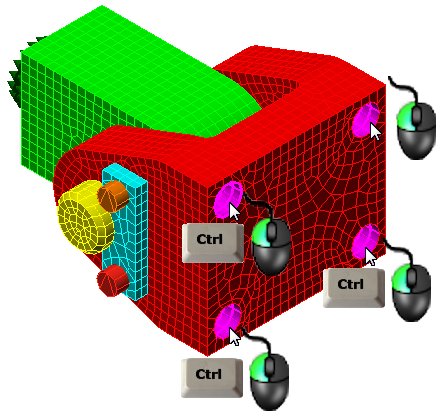
- Click Fixed, and OK.
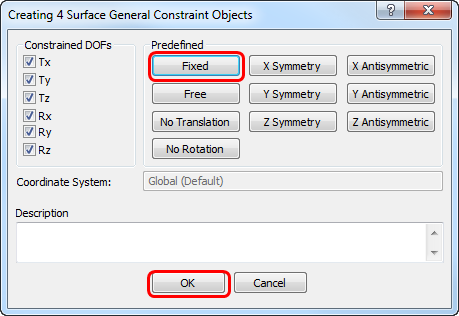 Note: Clicking Fixed automatically constrains all of the translation and rotational degrees of freedom.
What it should look like…