The second house front has a peaked roofline and an arched entry. We will concentrate on modeling these, as you already know how to model windows.
Set up the lesson:
- Continue working on your scene from the previous lesson or
 open
\modeling\facades\facade_modeling_house1.max.
View the bitmap for the second house, and note its dimensions:
- On the main menu, choose Rendering
 View Image File. In the View File dialog, navigate to the
\sceneassets\images
folder, and highlight
fac4.jpg.
In the lower-left corner of the View File dialog, a status line shows the dimensions of the image, which are 1200 x 1740 pixels.
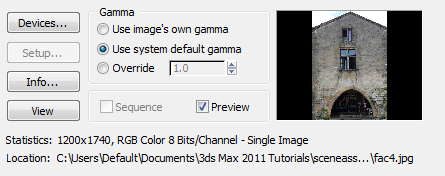
- Click Open to view the image at full size.
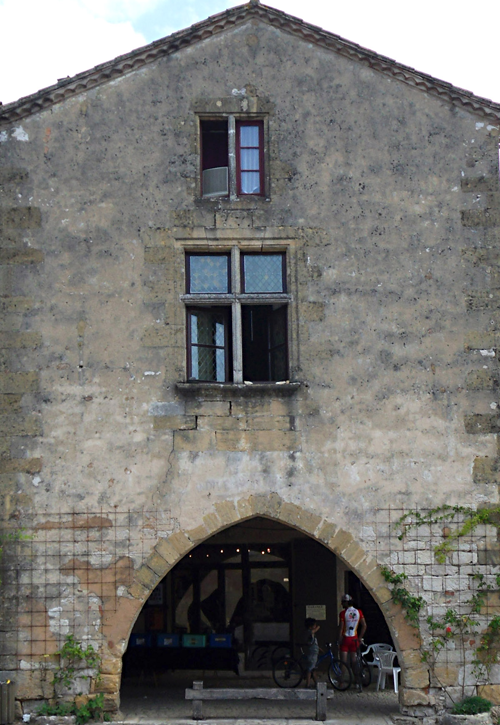
-
 Close the image window after you have looked at the photo.
Create the plane for the house:
- Click
 (Maximize Viewport Toggle) to display a four-viewport layout.
 - Change the upper-right viewport to a Front viewport, and activate it.
-
 Select Facade1, and then click
  (Zoom Extents Selected).
 -
 Pan the viewport so Facade1 is at the left.
 - On the
 Create panel, activate
  (Geometry), then on the Object Type rollout, click to activate Plane.
 - In the Front viewport, drag to create a plane. Change the Length (height) value to 10.0m and the Width value to 6.8m. Change Length Segs = Width Segs = 1.
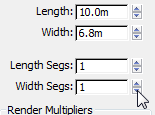 Note: The aspect ratio of the new house is 1200:1740, which equals 0.69, so the dimensions of 10m x 6.8m are close to the real-world dimensions. (Most of the houses in Monpazier are 6.8m wide.)
 -
 Move the new plane so it is level with Facade1, then move it to the right so it is to the right of the previous house, with bit of distance between them.
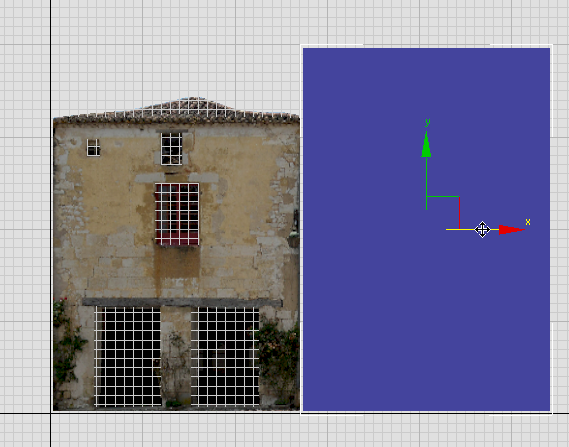
- Name the new plane Facade4.
- Go to the
 Hierarchy panel. On the Adjust Pivot rollout, turn on Affect Pivot Only, then
  move the pivot vertically so it is at the base of the Facade4 plane.
 - Right-click the Facade4 plane, and from the Transform (lower-right) quadrant of the quad menu, choose Convert To
 Convert To Editable Poly.
Texture the plane:
-
 Open the Slate Material Editor.
 - In the Material/Map Browser panel, locate Materials
 mental ray, and drag the Arch & Design entry to the active View.
 - Double-click the Arch & Design material node to display its parameters.
- Name the material Facade 4.
- On the Templates rollout, choose Matte Finish from the drop-down list of templates.
- On the Material/Map Browser panel, locate Maps
 Standard, and drag the Bitmap entry to the active View.
 - In the file dialog that opens, choose fac4.jpg as the bitmap, turn off Sequence, and then click Open. Important: In the Select Bitmap Image File dialog, be sure to turn off the Sequence toggle.
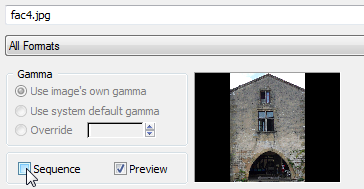
When Sequence is on, 3ds Max attempts to create an IFL animation, and we want to open only the single image.
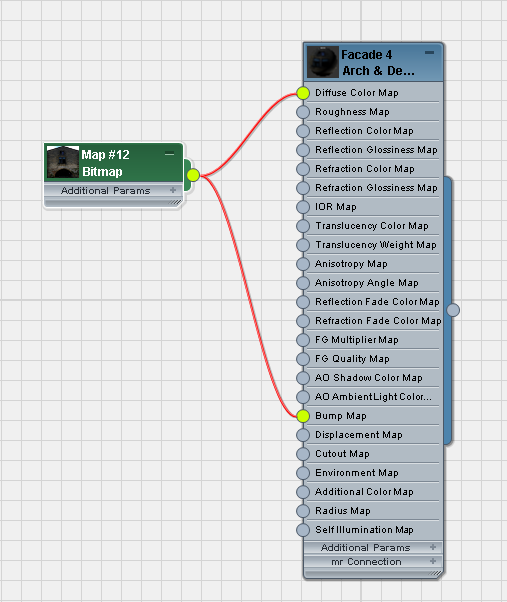
- Wire the Bitmap to the Arch & Design material’s Diffuse Color Map and Bump Map components.
- Click the Facade 4 material node to make it active, then turn on
 (Show Shaded Material In Viewport).
 - Drag from the Arch & Design material node’s output socket (the small circle on the right), and drop the material on the Facade 4 plane in a viewport.
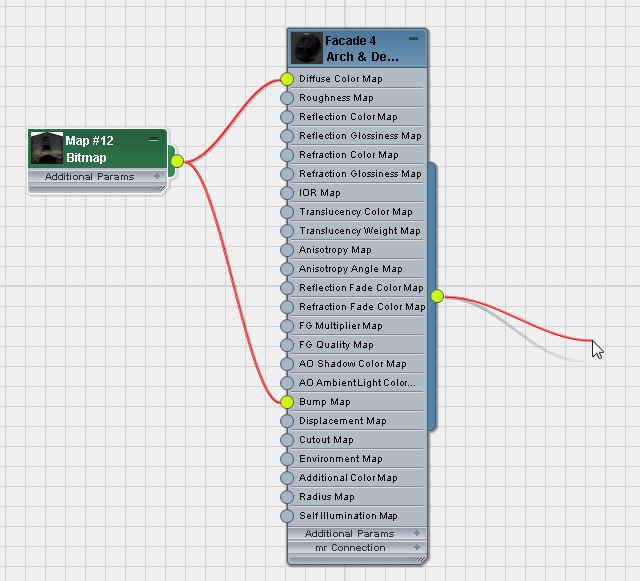
Dragging and dropping is another way to apply a material.
Note: You won’t see the wire as it crosses the panel at the right of the Slate Material Editor, or in the viewport.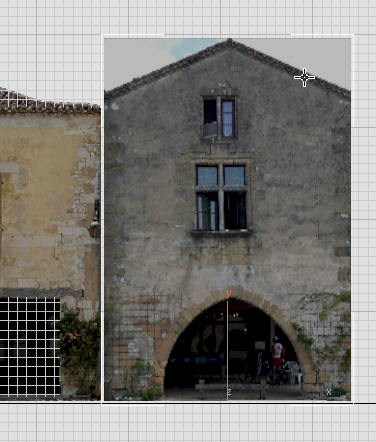
Shaded plane in Front viewport
-
 Close the Slate Material Editor.
Set up the stack and face-selection color:
- Go to the
 Modify panel.
 - From the Modifier List, add a UVW Map modifier. Click the Editable Poly entry again, then add a Poly Select modifier. Important: On the stack, Poly Select must be between the Editable Poly object and the UVW Map modifier. Otherwise, the bitmap projection is not preserved at some sub-object levels.
- Make sure that
 (Show End Result) is on for all three levels of the stack (the two modifiers and the Editable Poly object itself).
 - Click the Editable Poly level again to make it active.
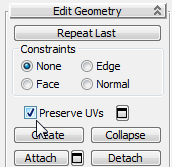
- On the Edit Geometry rollout, turn on Preserve UVs.
- Scroll down to the Subdivision Surface rollout, and open it if it isn’t already open.
- On the Subdivision Surface rollout, make sure Show Cage is on.
- Click the second of the color swatches that follow Show Cage.
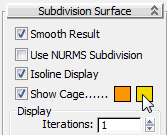
This color is the color of highlighted polygons.
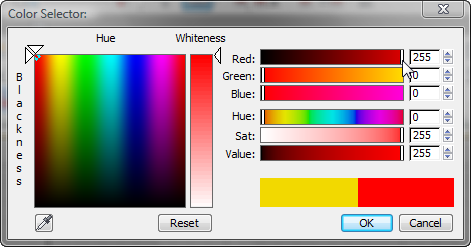
- On the Color Selector, choose a bright red as the highlight color, and then click OK.
Adjust the roofline:
- On the ribbon, click
 (Edge) to go to the Edge sub-object level. On the Edit panel, click
  (Swift Loop) to turn it on.
 - Make sure the viewport displays Edged Faces (F4).
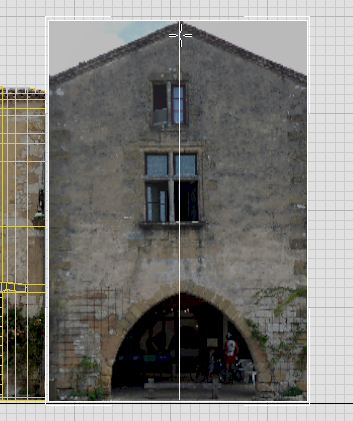
- Create a vertical edge that is centered on the peak of the roof.
- Right-click to turn off the Swift Loop tool.
- On the ribbon, click
 (Vertex) to go to the Vertex sub-object level.
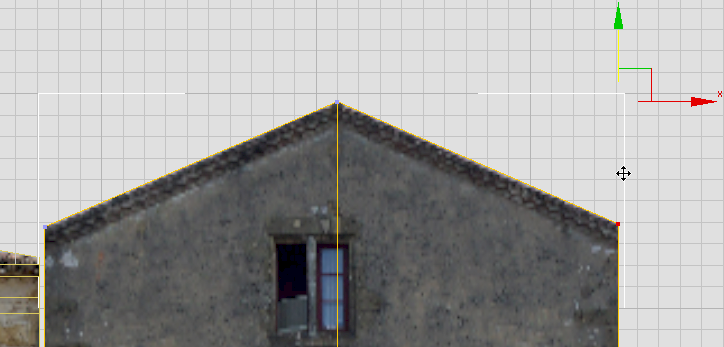
  Move the upper-left and upper-right vertices down to match the roofline.
- On the ribbon, click
 (Edge) to go to the Edge sub-object level.
  Click and
  +click to select the two roof edges, then
  move them down vertically a bit to hide the cornice.
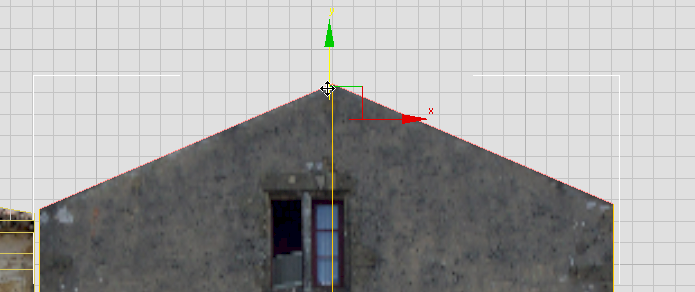
As you did for Facade1, you will add detail for the roof later in this tutorial.
Add edges for the windows:
- On the ribbon
 Edit panel, click
  (Swift Loop) to turn it on again.
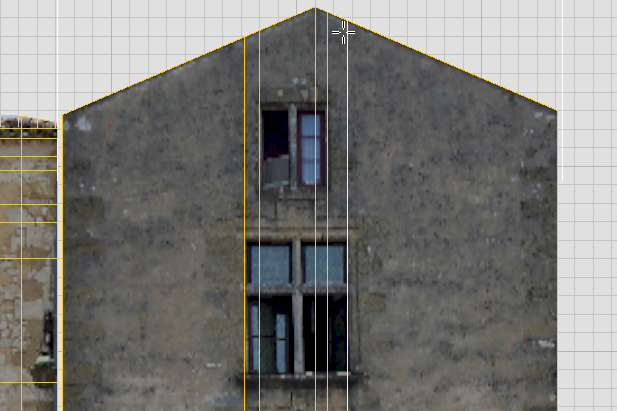
 - Add vertical edges for the two windows.
- Also add vertical edges for the center dividers of the two windows.
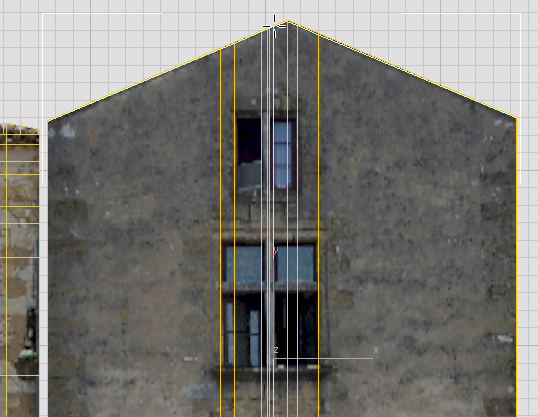
As you work with Swift Loop, you will notice that the “horizontal” loops are now chevron-shaped, because of the peaked roof. To get true horizontal edges, you need to use a different tool at first.
- On the ribbon
 Edit panel, turn on
  (QuickSlice).
 - Position the cursor at the horizontal top of the upper window, then click the mouse once.
3ds Max creates a single horizontal slice.
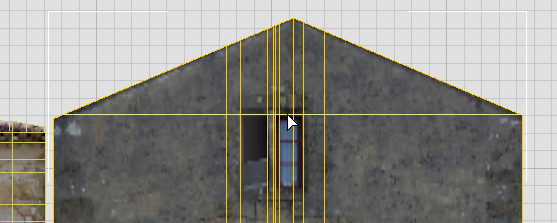
- Click the mouse a second time to “set” the quick slice. (If you drag the mouse, 3ds Max rotates the slice, which we don’t need here.)
- Use
 (QuickSlice) again to create the lower edge of the upper window.
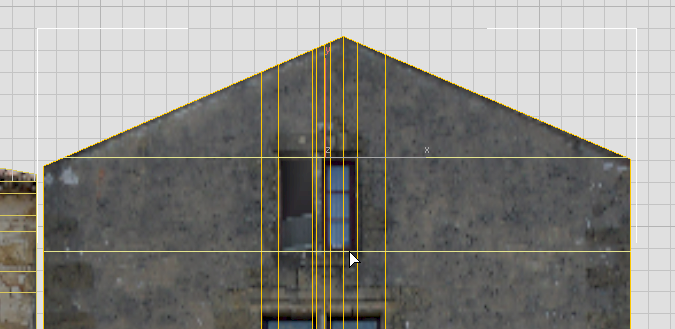
- Once you’ve used QuickSlice to finish creating horizontal edges for the upper window, you can use
 (Swift Loop) again to create the horizontal edges for the lower window.
 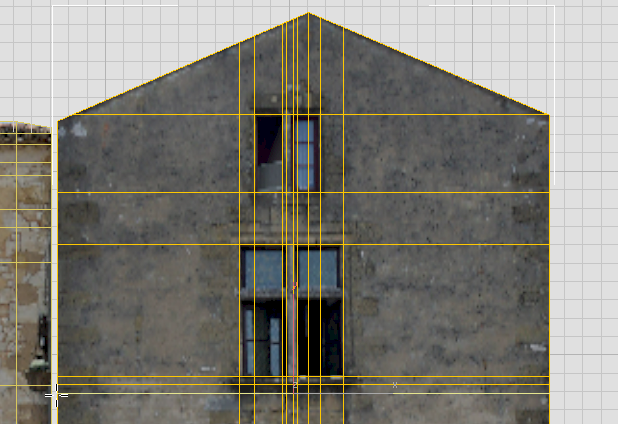 Note: Although we don’t go through the steps in this tutorial, we use three horizontal loops for the lower windowsill, because in the final model it has two levels of extrusion. You can see this in facade_modeling_completed.max.
Although we won’t go into detail about creating the windows, you will add their construction edges, as these can help you construct the arch.
Now you have some of the grid on which you will base the actual arch contour.