Now you give the cockpit canopy its overall shape. You will add more detail to the geometry in a later lesson.
Set up the lesson:
- Continue working on your scene from the previous lesson or
 open
\modeling\p47\p47_cockpit_initial.max.
- If you open the file,
 select the P-47. On the ribbon
  Polygon Modeling panel, click Modify Mode.
Block out the shape of the canopy:
- On the ribbon
 Polygon Modeling panel, activate
  (Vertex).
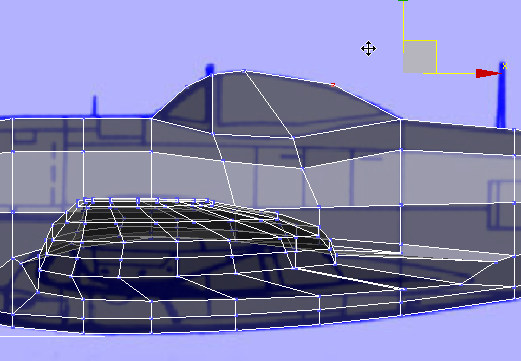
 - As you did for the top of the cockpit (which is now the bottom of the canopy), in the Front viewport region-select vertex groups, and
 move them to follow the shape of the canopy in the blueprint image.
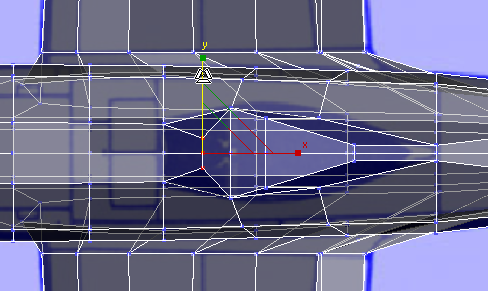
- In the Front viewport, region-select the leading edge of vertices in the glass part of the canopy (the upper part, above the fuselage), then in the Top viewport,
 scale the vertices along the Y axis. This time, use the Left viewport to monitor your work and match the model to the blueprint image.
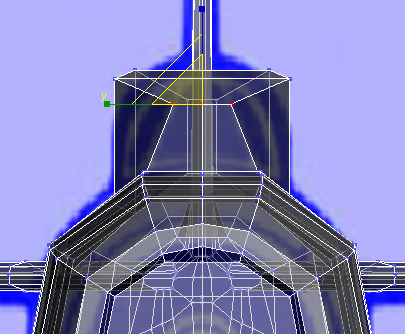
Left view
- Repeat the preceding step for the row of vertices immediately behind the row you just scaled. Note: For this row and the next one, you won’t be able to duplicate the extreme round shape shown in the Left viewport’s blueprint image. This isn’t a problem: Later on, you will increase the curvature. For this step, approximate the metal struts of the canopy, which in the blueprint image are shown in the lighter color.
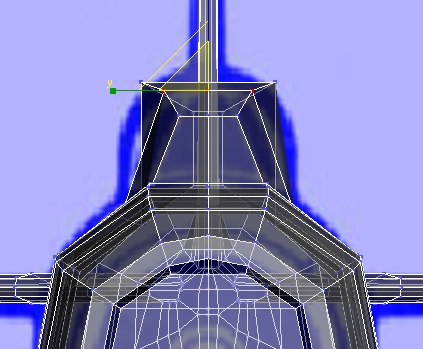
Left view
- And repeat the step once more for the third row of vertices, at the top of the canopy before it narrows again.
For this step, approximate the outer edge of the canopy, shown in dark blue.
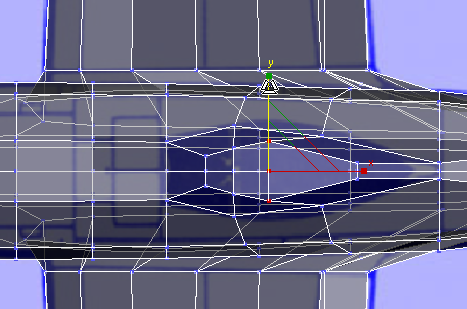
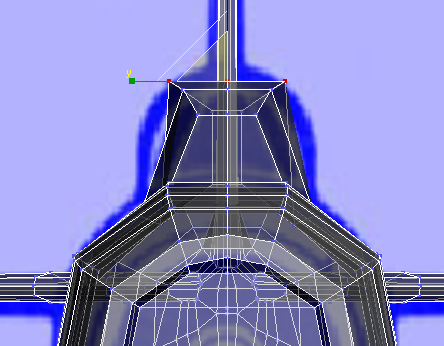
Left view
- In the Top viewport,
 click and
  +click to select the three vertices along the “ridgeline” of the canopy.
 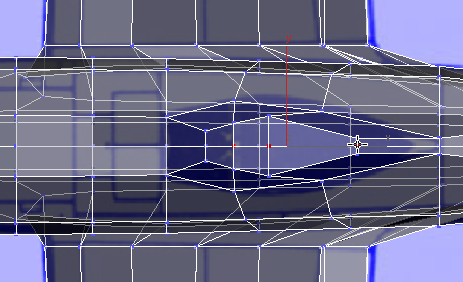 Tip: If you select a vertex you don’t want to move, use
 +click to deselect it.
 - In the Front viewport,
 move these vertices up along the Y axis while watching the outcome in the Left viewport.
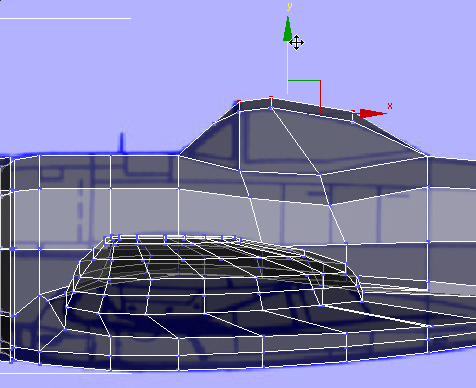
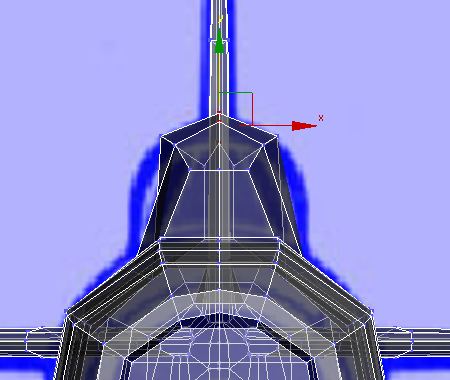
- In the Front viewport,
 click to select only the most forward of the three vertices you just moved.
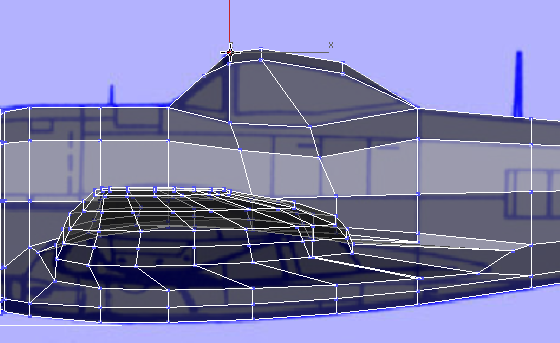
-
 Move the vertex down a bit in the Y axis to make the outline of the canopy look smoother.
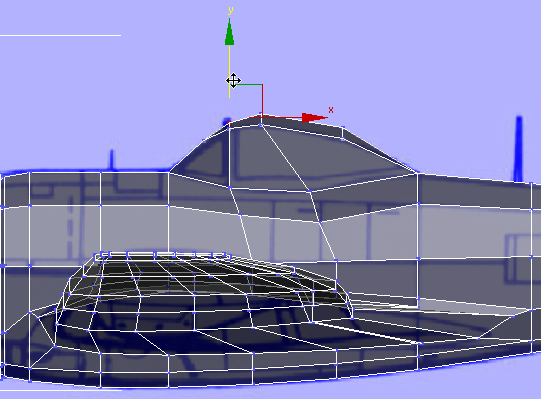
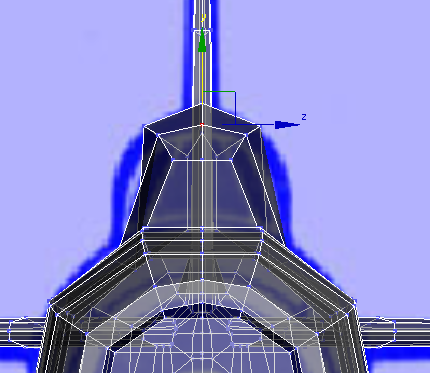
Left view
Detach the canopy and hide it:
- On the ribbon
 Polygon Modeling panel, activate
  (Polygon).
 - On the main toolbar, make sure the Window/Crossing toggle is in its
 Crossing state; on the
  Modify panel
  Selection rollout, make sure that Ignore Backfacing is turned off; then in the Front viewport,
  drag a selection box to select all the polygons in the canopy.
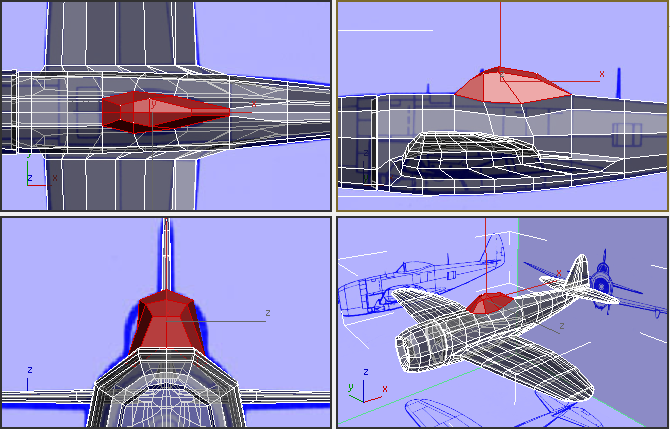
- On the ribbon
 Geometry (All) rollout, click
  (Detach).
 - On the Detach dialog, name the new object Canopy. Make sure both options are turned off (they should be off by default), and then click OK.
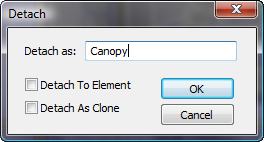
- On the ribbon
 Polygon Modeling panel, click
  (Polygon) again to exit the Polygon sub-object level.
 -
 Click to select the new Canopy object.
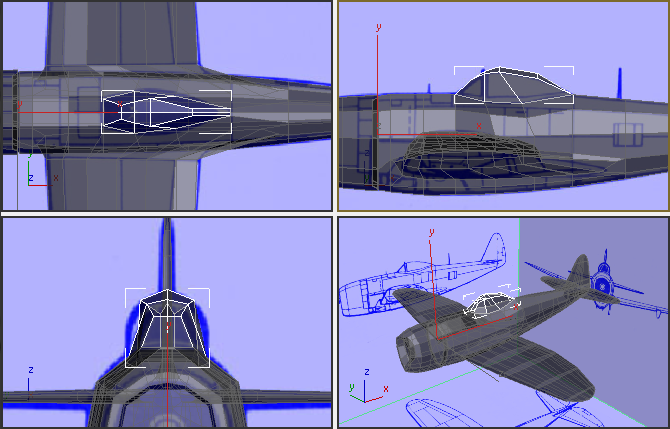
- Right-click, and from the Display (upper-right) quadrant of the quad menu, choose Hide Selection.
You will unhide the cockpit, and finish it, after you finish modeling the fuselage.
The canopy will become a separate object from the fuselage. In this procedure, first you detach the canopy from the fuselage, and then hide it: The next lesson will concentrate on modeling the interior of the cockpit.
You finish adding detail to the canopy object in a lesson that follows.
Save your work:
- Save the scene as p47_cockpit_and_canopy.max.