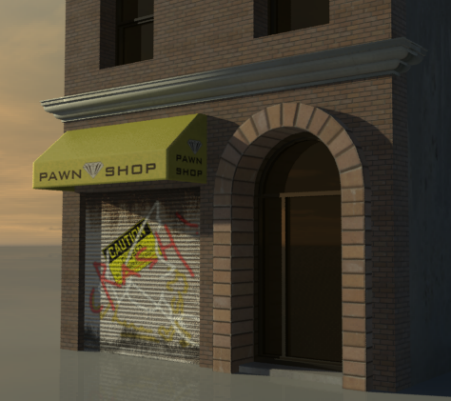
A composite map layers two or more texture maps onto one another, in order to produce a more detailed image.
The end result is determined by the level of transparency defined for each layer. Transparency can be global (applied to the entire surface of the layer), derived from the layer’s alpha channel, or based on a mask. To fine-tune the image, the pixels of each layer can also be blended with one another in a number of different ways.
In this tutorial, you will create a complex texture map of a steel shutter for a pawn shop. The map will consist of five layers of images composited together using various transparency settings and blending techniques.

A rendering of the steel shutter composite map after completing this tutorial
In this tutorial, you will learn how to:
- Create a composite layer
- Color-correct a layer
- Define layer transparency and contrast
- Create a layer defined by a mask
- Rearrange the order of layers
- Blend layers
- Add bump information to layers
Skill level: Intermediate
Time to complete: 45 minutes
Preparation for This Tutorial
- If you have not already downloaded the tutorial files (MAX scenes and other assets), download them now and unzip them into a project folder called \Autodesk 3ds Max 2015 tutorials. See Where to Find Tutorial Files.
- On the Quick Access toolbar, click
 (Project Folder) and set your current project to Autodesk 3ds Max 2015 Tutorials.