Now that you have set up the stack and the color of selected polygons, you are ready to turn the plane of the façade into a three-dimensional model.
Set up the lesson:
- If you open the file,
 select the façade, go to the
  Modify panel, and make sure that
  (Show End Result) is on for all three levels of the stack.
 - If you continue from the previous lesson, do the following:
- Activate the Front viewport.
- Click
 (Maximize Viewport Toggle) (or click
  +W) to maximize the Front viewport.
 - Press F4 to make sure Edged Faces are displayed.
Continue working on your scene from the previous lesson or ![]() open
\modeling\facades\facade_modeling_flat_facade.max.
open
\modeling\facades\facade_modeling_flat_facade.max.
Adjust the line of the eaves:
- Go to the
 Modify panel. On the modifier stack, click to activate the Editable Poly level. Tip: You will use the Graphite Modeling Tools ribbon, but the ribbon doesn’t display all options unless the Modify panel is active, and the geometry is chosen in the stack.
If the Graphite Modeling Tools ribbon is not displayed, then on the main toolbar, click
 (Graphite Modeling Tools (Open)). If you need to, click the ribbon’s
  expand/collapse icon until the full-size ribbon panels display.
 - On the
 Modify panel
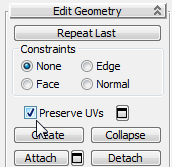
  Edit Geometry rollout, make sure that Preserve UVs is turned on.
- On the Modeling tab
 Polygon Modeling panel, click
  (Edge) to activate the Edge sub-object level.
 - Select the top edge of Facade1, then
 move it downward to hide the roof.
 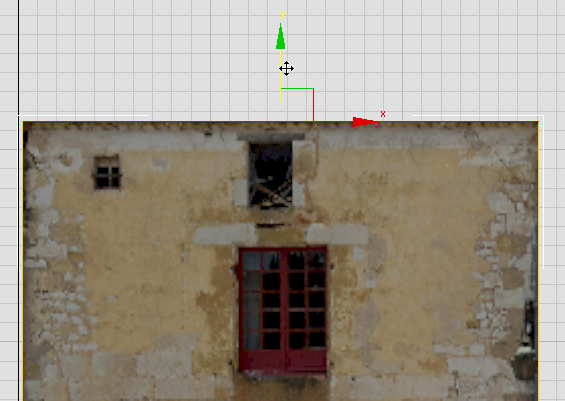 Tip: If the viewport grid overlays the details of the façade photo, press G to turn off grid display.
You will restore the roof later, in a following lesson.
Add edges for the windows:
-
 Zoom the viewport so you have a good view of the three windows in the upper portion of the wall.
 - On the Modeling tab
 Edit panel, click to turn on
  (Swift Loop).
 The SwiftLoop tool adds edges to the Editable Poly surface by drawing a “loop” from one edge to another.
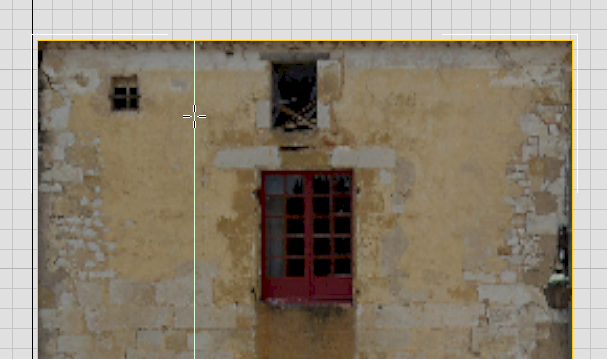
Note: In this tutorial, you use only a handful of tools to create the façade geometry. The ribbon has many other options that aren’t demonstrated here. See Modeling a Helmet Using the Ribbon or Modeling Cabinets Using the Ribbon for further uses of the ribbon. - Drag over the façade near the top edge. 3ds Max constructs a vertical edge, which you can move.
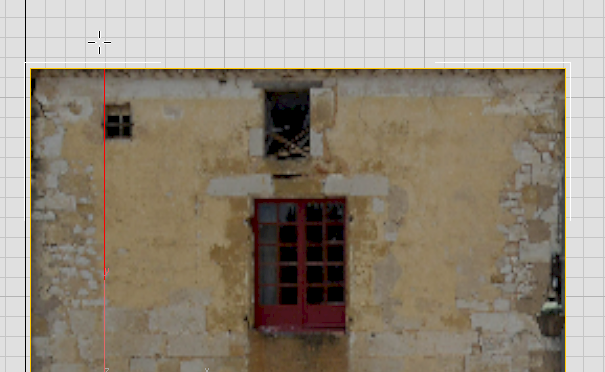
- Click to set a vertical loop at the left edge of the small window in the upper left of the façade.
- Add additional vertical loops for the other window edges.
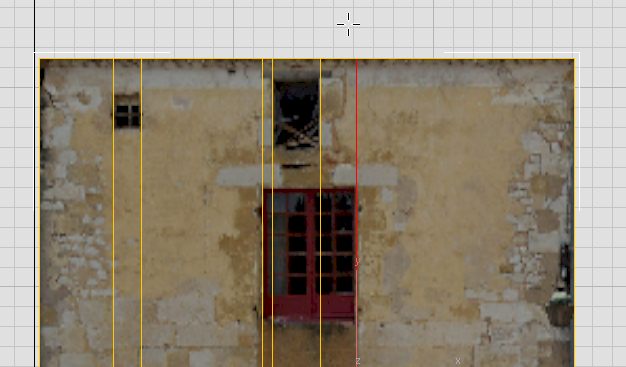
- Add horizontal loops to define the tops and bottoms of the windows.
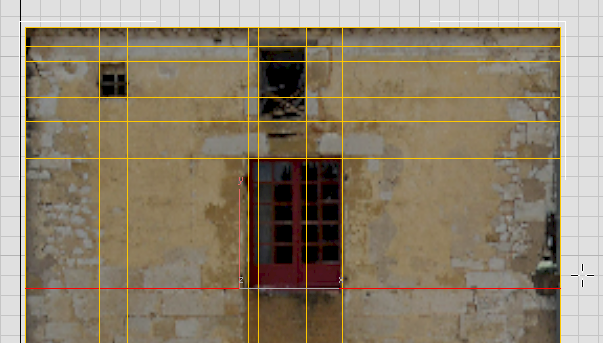
Add edges for the lintel beam and the doorways:
-
 Pan down to get a good view of the doorway area.
 - Add loops to outline the lintel.
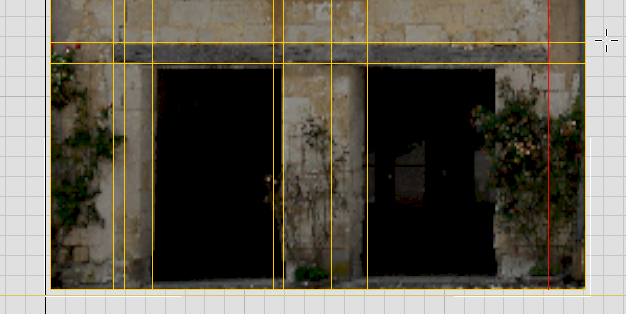 Note: The lintel beam is not perfectly rectangular. You will adjust its outline in a later procedure.
 - Add a vertical loop for the edge of the right-hand doorway. (The other vertical door edges match edges you already created for the windows.)
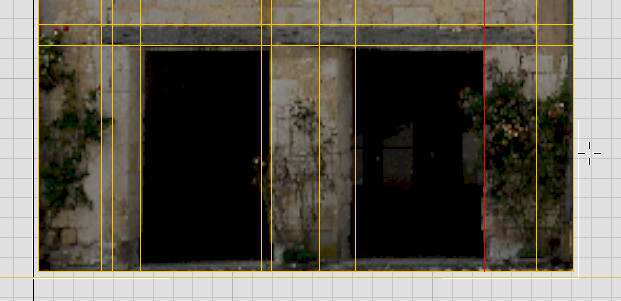
- Also add vertical loops to the left of each dark area, where the wall angles into the doorway.
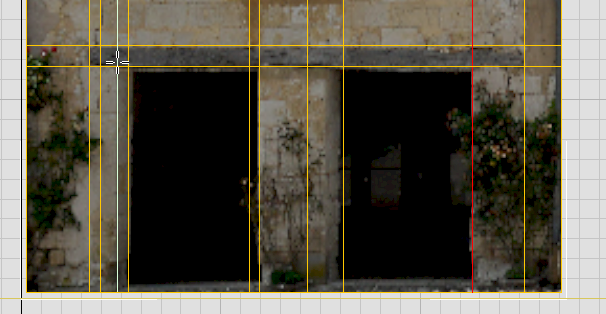
Loop for the angle of the left doorway’s left-hand doorjamb
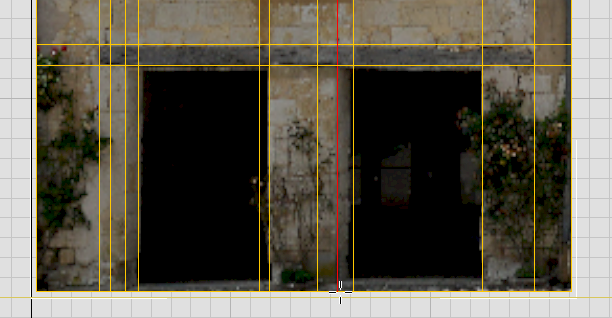
Loop for the angle of the right doorway’s left-hand doorjamb
- Finally, add a horizontal loop to define the elevation of the doorstep.
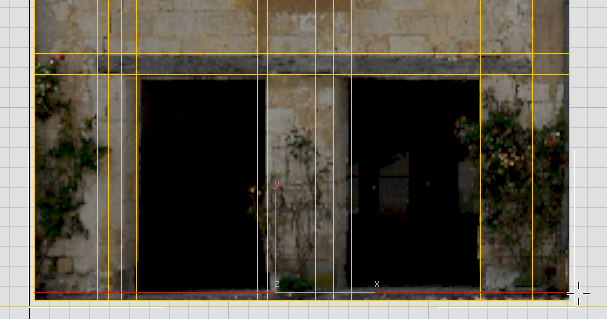
- Right-click to turn off the Swift Loop tool.
Now you have most of the edges you need to add 3D detail to the façade.
Add depth to the top center window:
- Click
 Edge to return to the top, object level.
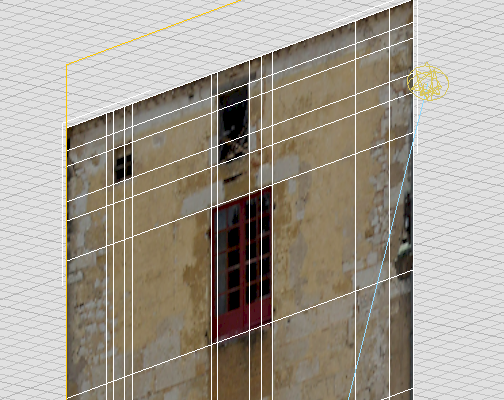
 - Drag the left edge of the ViewCube to get a view of the façade that shows some depth.

- In the viewport,
 click to select the Ground object in the background, then right-click and from the quad menu, choose Hide Selection.
 -
 Zoom and
  pan to get a good view of the windows in the upper portion of the wall.
-
 Select Facade1 again.
 - Go to the Editable Poly level. Tip: On the Graphic Modeling Tools ribbon, you can navigate the stack by using the buttons
 (Next Modifier) and
  (Previous Modifier). These move to the geometry level as well as to modifiers.
 - On the ribbon, click
 (Polygon) to go to the Polygon sub-object level.
 -
 Click and
  +click to select the three faces of the top center window.
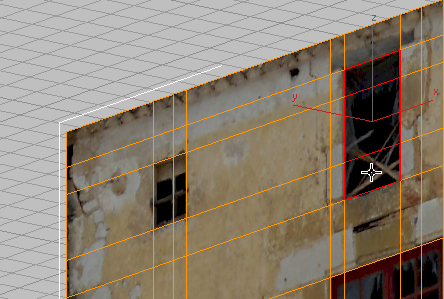
- On the ribbon
 Polygons panel, click the drop-down arrow next to the
  Extrude button, and choose Extrude Settings.
3ds Max displays an interactive manipulator called a “caddy.”
- Drag the arrows by the Height control, and extrude the window back by about –0.05m.
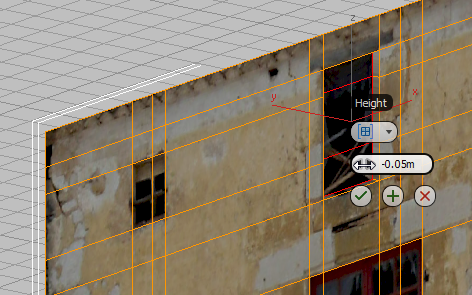 Tip: You can also simply type –0.05 in the Height field, and then press
 .
. - Click
 (OK: the check-mark icon at the bottom of the caddy) to complete the extrusion.
Add depth to the other two windows:
-
 Click and
  +click to select the two polygons of the small window at the upper left.
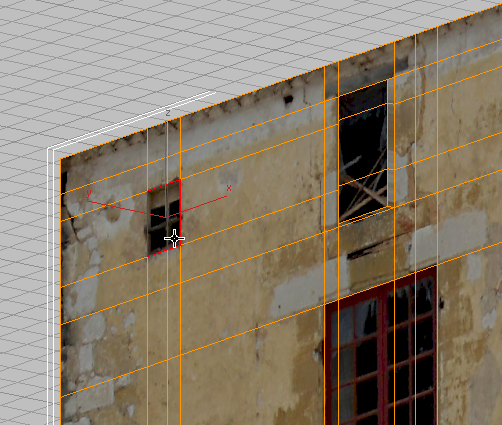
- On the ribbon,
 +click
  (Extrude).
  +click is a shortcut way to display the caddy for a modeling tool.
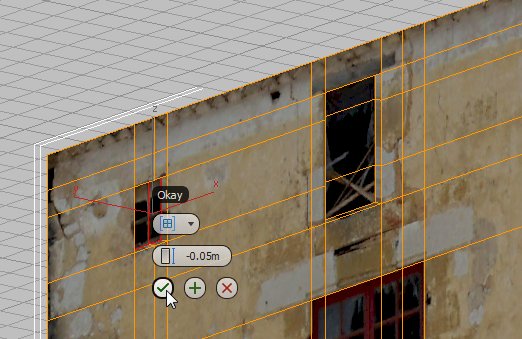
- The caddy defaults to the previous value you used for Extrude Polygons, so just click
 (OK) so the small window matches its larger neighbor.
 -
 Click and
  +click to select the four polygons of the main window in the center of the wall.
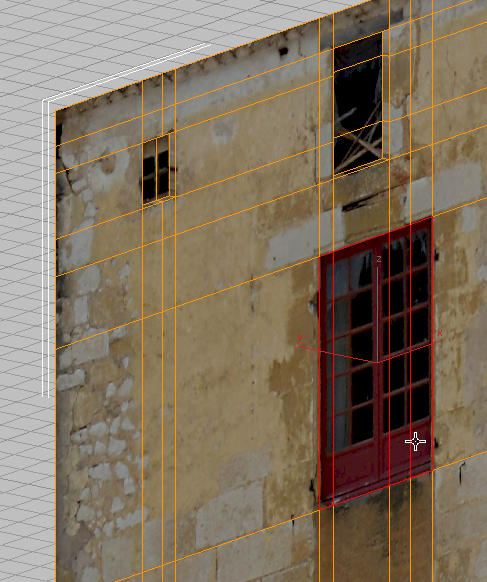
- On the ribbon,
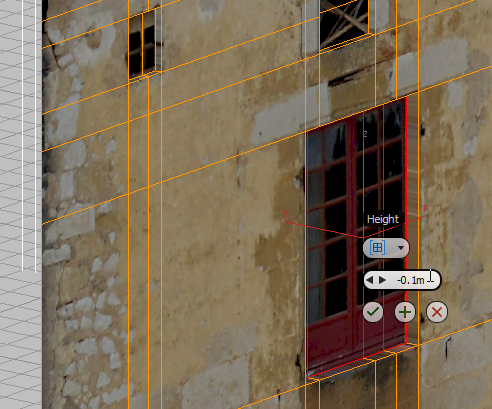
 +click
  (Extrude).
 - This window should have more depth than the smaller windows, so in the Height field, enter –0.1m, then press
 .
. 
- On the caddy, click
 (OK).
(OK).
Now the windows for Facade1 are done.
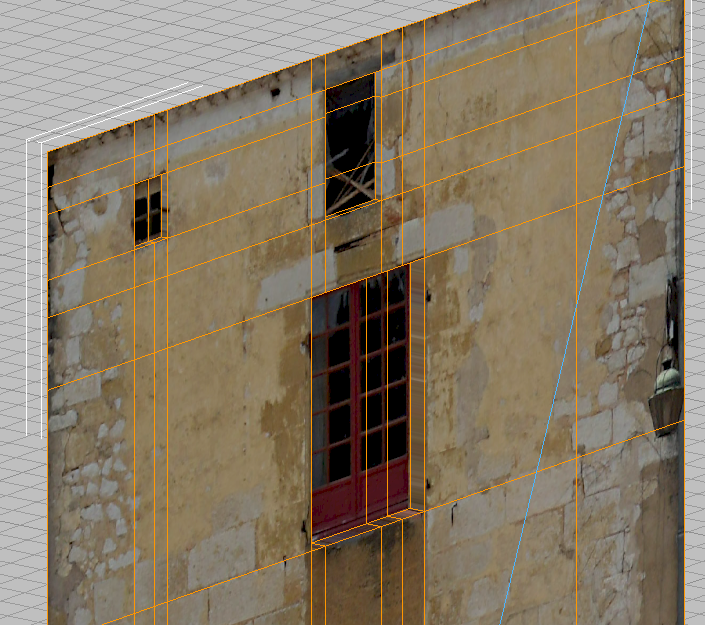
This completes the modeling of the upper portion of the wall.