As with the air intake or the front edge of the cockpit interior, the way to reduce the amount of NURMS smoothing is to reinforce an edge by adding nearby edge loops. You will do this to the front windshields of the cockpit canopy.
Set up the lesson:
- Continue working on your scene from the previous lesson or
 open
\modeling\p47\p47_canopy_smoothinggroups.max.
- If you open the file,
 select the Canopy object. If you need to, on the ribbon click Modify Mode.
Fine-tune the bubble canopy:
- On the ribbon
 Edit panel, turn on
  (Swift Loop).
 - Add edge loops to reinforce the windshields, as follows:
- Near the front of the side windshields, just behind the metal strut.
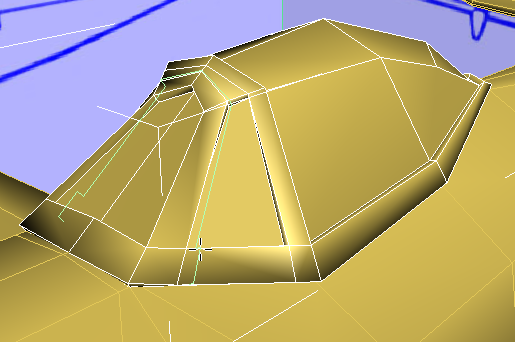
- On the front windshield, just on the other side of the left-hand strut.
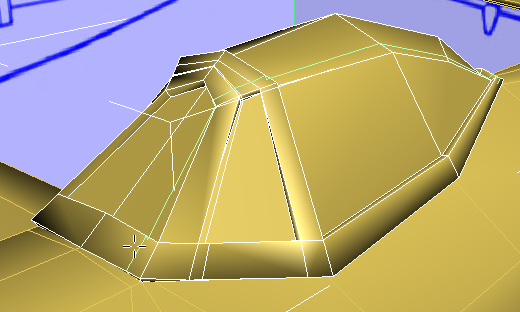
- Also on the front windshield, but on the right side, opposite the previous loop. Tip: This one is easiest to do in the Top viewport.
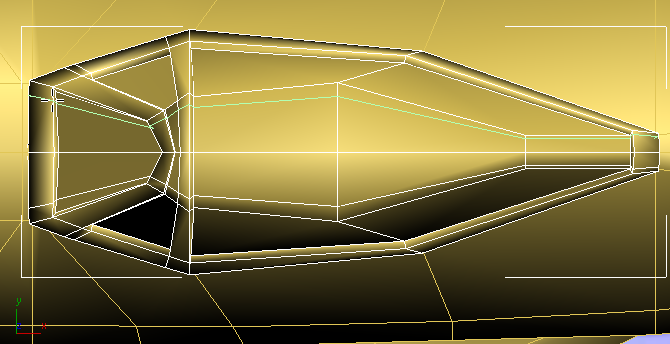
- Immediately in front of the “rollbar” strut.
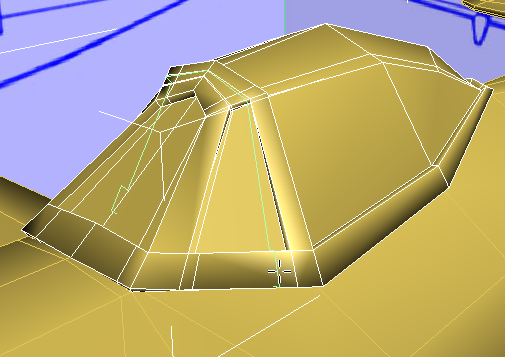
- And immediately behind the “rollbar” strut, as well.
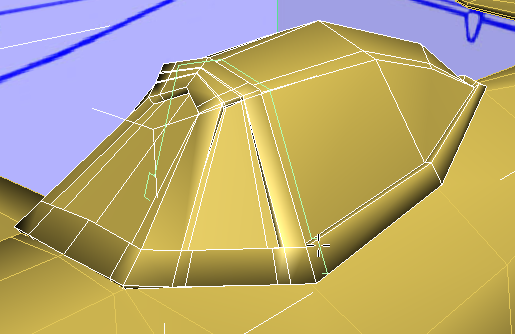
- Finally, add an edge loop just above the rim of the cockpit canopy.
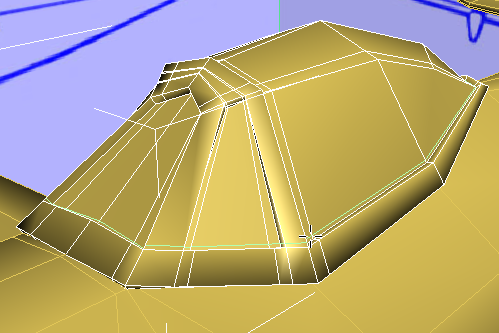
- Near the front of the side windshields, just behind the metal strut.
- Right-click to exit the Swift Loop tool.
Check the smoothing once again:
- On the ribbon
 Edit panel, turn on
  (NURMS). Press F4 to turn off Edged Faces.
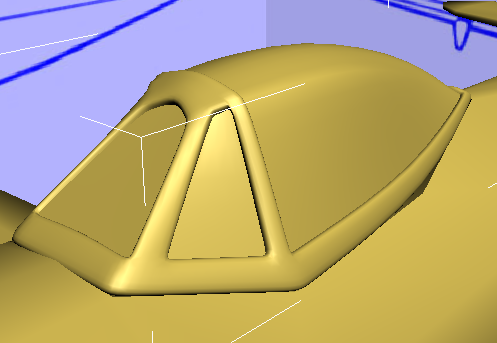
 Now the windshields have their proper shape, and the edges between the metal and glass parts are crisp.
- Turn
 (NURMS) off again.