To complete the wings, you adjust some details and improve the curvature of the trailing edges.
Set up the lesson:
- Continue working on your scene from the previous lesson or
 open
\modeling\p47\p47_wings_blocked.max.
- If you open the file,
 select the P-47. On the ribbon
  Polygon Modeling panel, click Modify Mode, and then click
  (Previous Modifier) to go to the Editable Poly level of the stack.
 - On the ribbon
 Polygon Modeling panel, click
  (Show End Result) to turn it on.
Check your work:
- In the Perspective viewport,
 orbit around the model to make sure the wings are even.
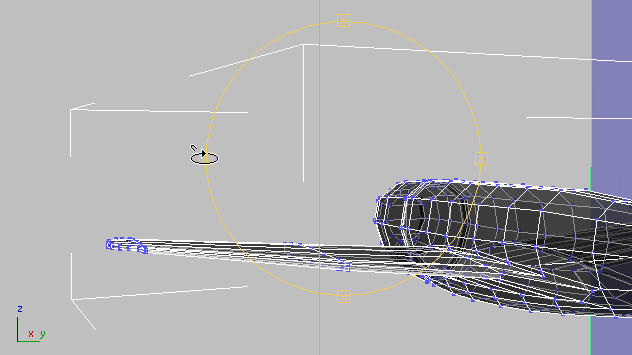
If any vertices seem out of place, especially along the vertical axis, move them
 to improve the wing’s appearance.
 - Activate
 (Select Object) to deactivate Orbit.
 - Press
 +Z to undo changes to the Perspective view.
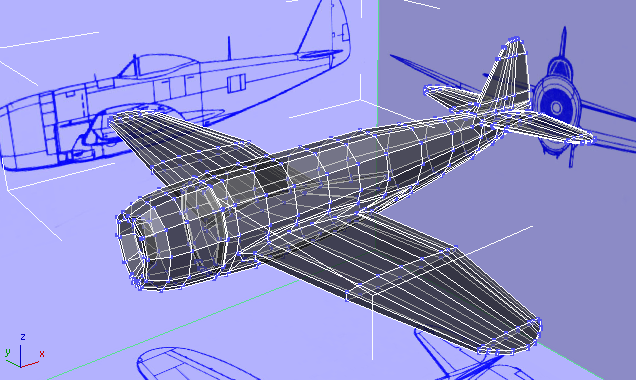
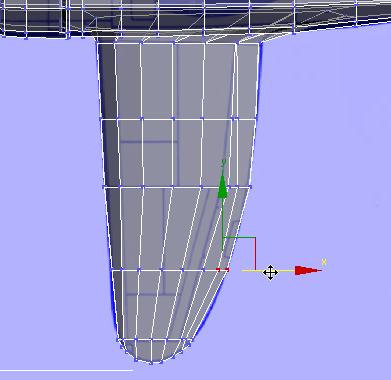
- In the Left viewport,
 select the wingtip vertices, and
  scale them down a bit vertically.
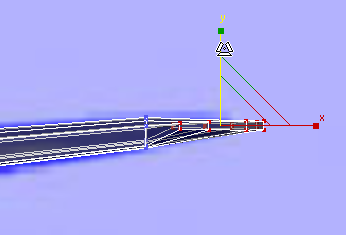
- Do the same for the vertices at the wingtip seam.
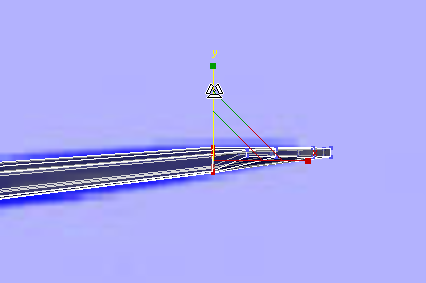
These adjustments are more intuitive than quantitative: Aim for a result that is visually pleasing to you.
- Click
 (Vertex) again to exit the Vertex sub-object level.
Refine the curvature of the wings:
-
 Zoom and
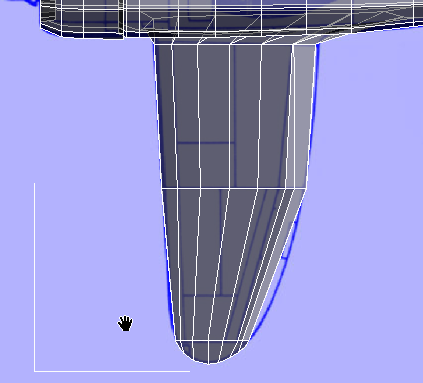
  pan the Top viewport so you can see all of the left-hand wing.
- On the ribbon
 Edit rollout, turn on
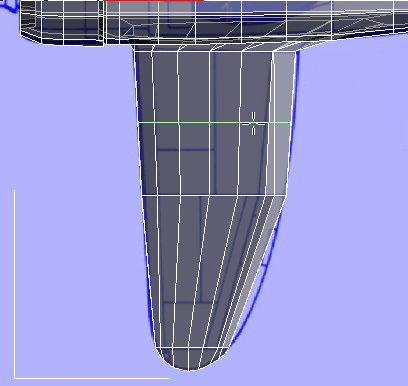
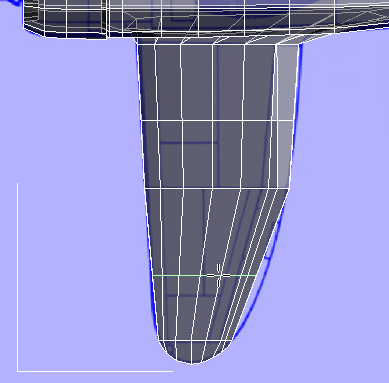
  (Swift Loop). Then in the Top viewport, use Swift Loop to add two new edge loops that subdivide the long faces on the wing.
- Right-click to turn off the Swift Loop tool.
- Go to the
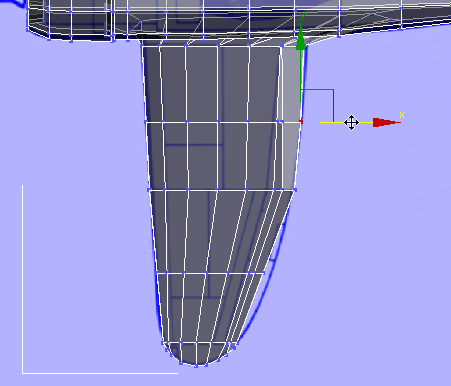
 (Vertex) sub-object level again, region-select vertices at the trailing edge of the wing, then
  move them to better match the curvature of the wing, as shown in the blueprint image.
- Click
 (Vertex) again to exit the Vertex sub-object level.
Save your work:
- Save the scene as p47_wings.max.