The cockpit canopy in this particular model is a bubble canopy, one of the canopy options for the P-47. The pilot sits in a glass bubble. The forward windshield is flanked by two side windshields, and the three windshields are backed by a metal strut like a rollbar.
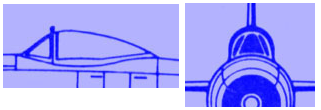
Note: On the Web you can find good photos of P-47s with the bubble canopy, as well as with an earlier style of canopy that featured more metal.
Set up the lesson:
- Continue working on your scene from the previous lesson or
 open
\modeling\p47\p47_fuselage_final_smoothing.max.
Adjust the shape of the front windshield:
- Right-click a viewport and from the quad menu, choose Unhide All.
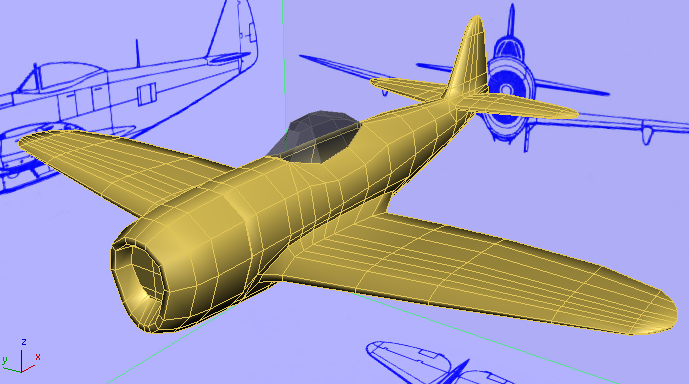
Now you can see the canopy again.
-
 Orbit,
  pan, and
  zoom the Perspective viewport to get a closer view of the canopy.
-
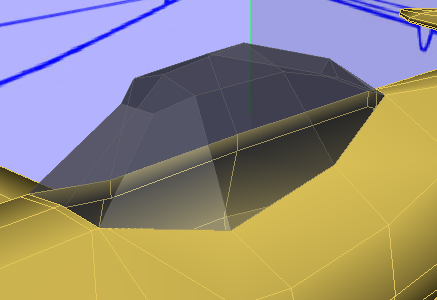
 Select the canopy and if you need to, press F4 to display Edged Faces.
- Go to the
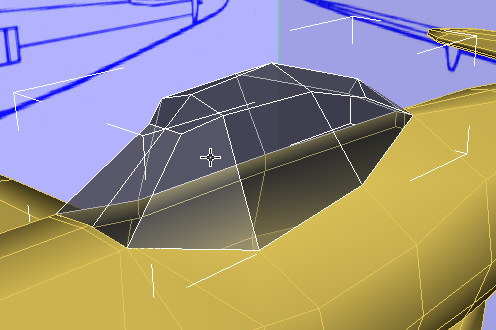
 (Vertex) sub-object level.
  Select the vertex at the top center of the front windshield.
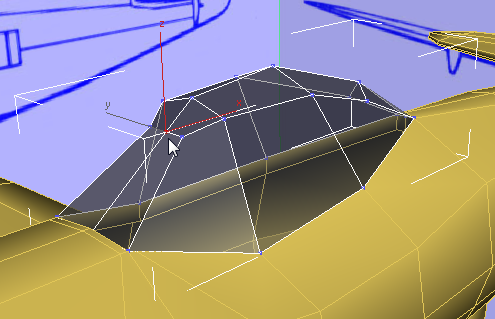
- On the ribbon
 Edit panel, activate
  (Constrain To Edge). Then
  move the vertex upward to give the front windshield more of a peak.
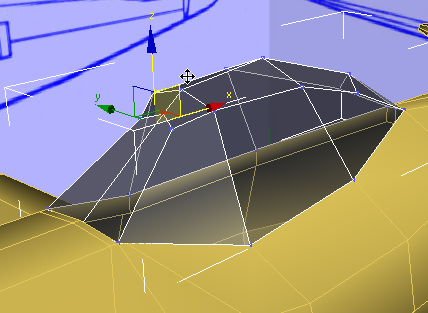
- Activate
 (Select Object) to deactivate Move.
 - On the ribbon
 Edit panel, activate
  (Constrain To None).
Add edges to reinforce the metal parts:
- On the ribbon
 Edit panel, turn on
  (Swift Loop).
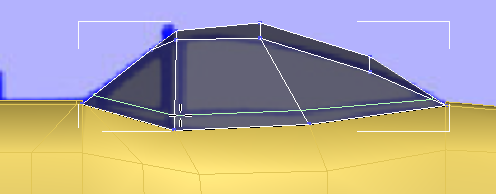
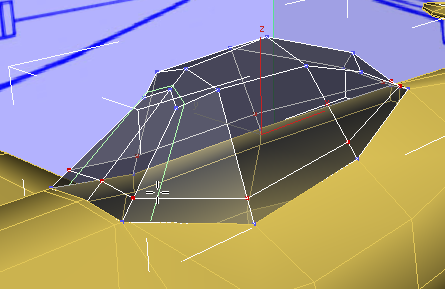
 - Add edge loops to reinforce the metal parts of the canopy, as follows:
- Horizontally, at the base of the canopy. Tip: Use the Front viewport for this one, so you can match the loop to the blueprint image.
- Vertically, just behind the edges that define the front windshield.
- Vertically, just in front of the edges that define the “rollbar” strut.
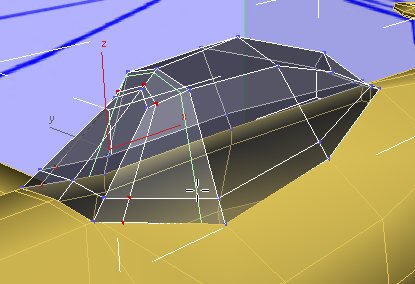
- Horizontally, at the base of the canopy.
- Right-click to exit the Swift Loop tool.
- Go to the
 (Edge) sub-object level.
 -
 Click and
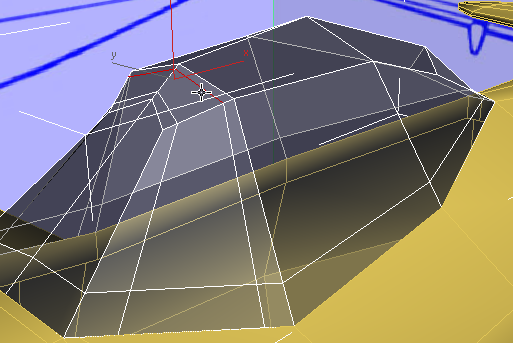
  +click to select the two edges at the top front of the “rollbar” strut.
- On the ribbon
 Edit panel, activate
  (Constrain To Edge). Then
  move the edges forward a bit to give the strut a more even width.
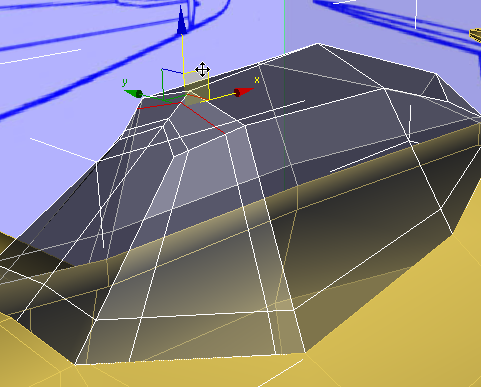
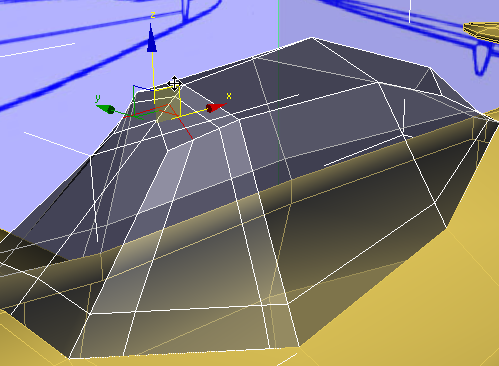
- Make a similar adjustment to the two top edges that define the rear of the windshield frame,
 moving them back slightly so the width of the frame is more even.
- Activate
 (Select Object) to deactivate Move.
 - On the ribbon
 Edit panel, activate
  (Constrain To None).
Add width to the metal parts:
- Go to the
 (Polygon) sub-object level.
 - Click
 (Zoom Extents All Selected).
 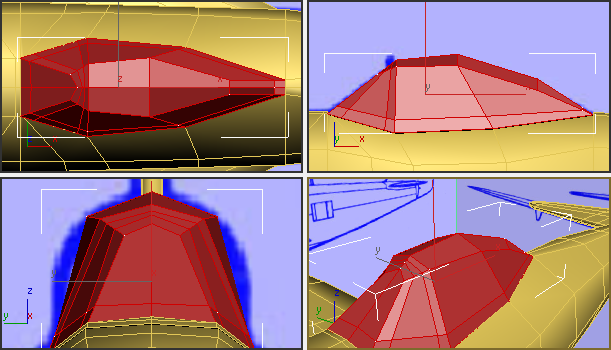 Note: When you change to the Polygon sub-object level, you might see all the polygons selected, as the illustration shows.
 -
 Click away from the canopy to deselect all polygons. Then click and
  +click the polygons that correspond to the glass parts of the canopy. You will need to use the Top viewport to select polygons that aren’t visible in the Perspective view.
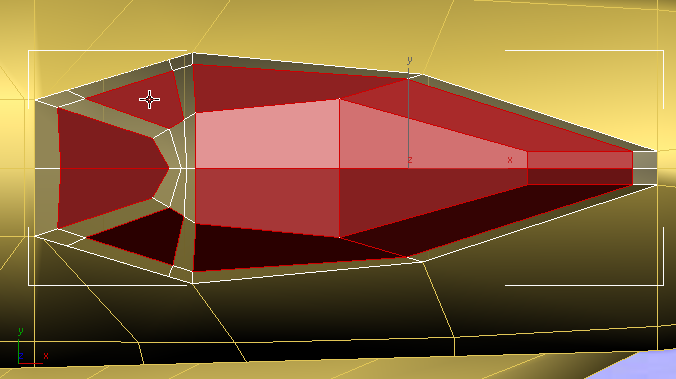
Top view
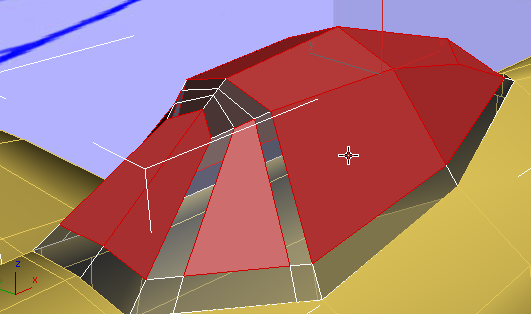
Perspective view
- Press
 +I to invert the selection.
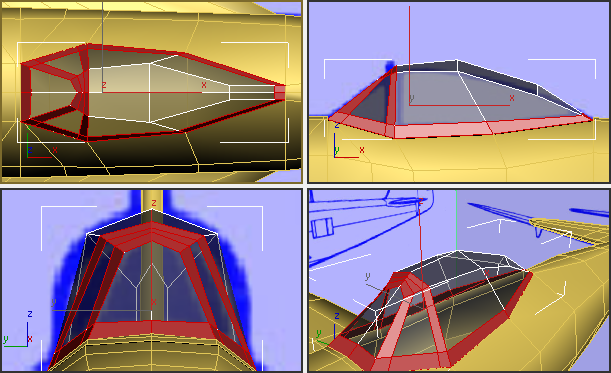
- On the ribbon
 Polygons panel,
  +click
  (Extrude).
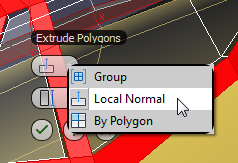
 3ds Max displays the Extrude Polygons caddy.
- Click the first control in the caddy, then from the drop-down list, choose Local Normal.
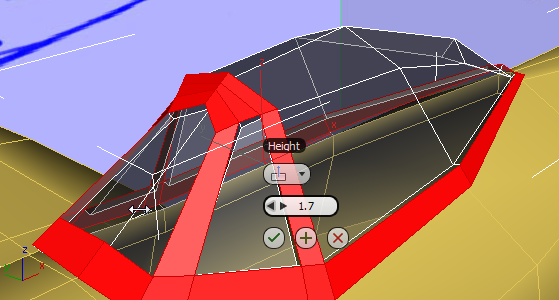
- Use the second control on the caddy to extrude the polygons by about 1.7 units.
- Click
 (OK) to accept the extrusion.
 - On the ribbon
 Modify Selection panel, click
  (Grow).
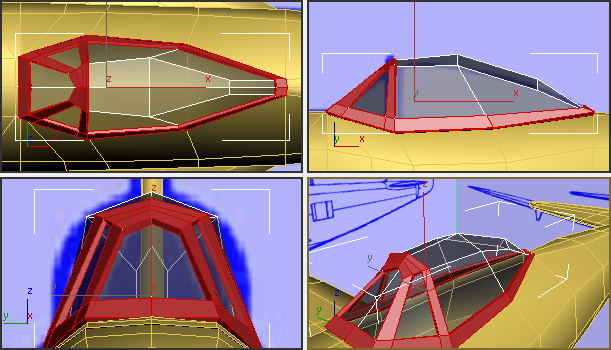
 This selects the side faces that were created when you extruded the metal parts. These faces should be metal, too.
- On the main toolbar, in the Named Selection Sets field, enter canopy metal and then press
 to save this polygon selection.
You will use this selection in the following lesson.
Save your work:
- Save the scene as p47_canopy_metal_glass.max.