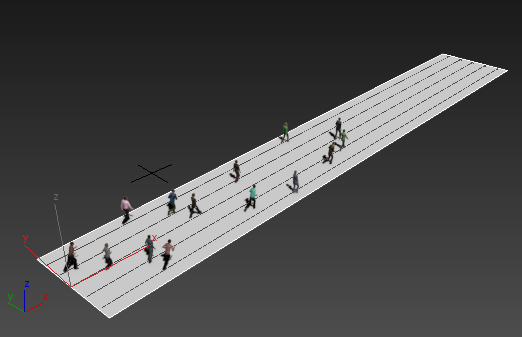
Set up the Populate flow:
- Start or reset 3ds Max and zoom the Perspective viewport out so the grid is very small.

- Open the ribbon to the Populate tab and click to turn on
 (Create Flow).
 - Click twice to create a single straight flow.
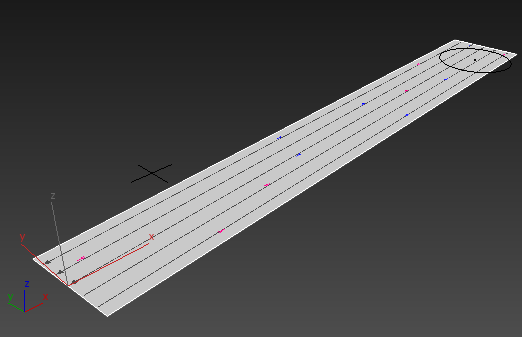
- Right-click to create only a single flow segment, then right-click again to end flow creation.
- Go to the
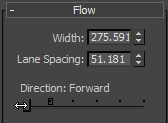
 Modify panel. On the Flow rollout, change the Direction to Forward.
- In the time controls, near the lower-right corner of the 3ds Max window, click
 (Time Configuration).
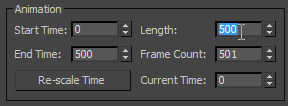
 - On the Time Configuration dialog, change the Length of the animation to 500, then click OK.
- On the ribbon
 Populate tab
  Simulate panel, change Number Of Frames to 500 as well.
  Note: As you might have noticed already, when Number Of Frames is greater than the current Time Configuration frame count, clicking Simulate extends the frame count to include the entire simulation. For example, the default animation length is 100 and the default Number Of Frames is 300. If you don't change either of these values and then click Simulate, Populate extends the frame count to end at frame 300. But to animate Flow parameters, you need to be able to set keys along the timeline, so it's easiest to adjust the frame count before you animate.
Animate the flow Density:
- Click to turn on
 (Auto Key).
 - Make sure you are at frame 0, then in the Flow rollout
 Portals group, drag the Density slider all the way to the left.
 Red brackets appear on the slider, indicating that there is an animation key for this setting.
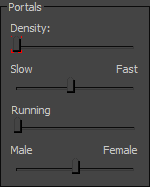
- Go to frame 500—you can drag the time slider or click
 (Go To End)—and drag the Density slider all the way to the right.
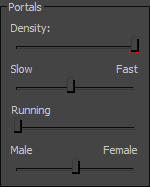
- Turn off
 (Auto Key).
 - Click
 (Go To Start).
Run the simulation:
- On the Simulate panel, click
 (Simulate).
 3ds Max shows a progress bar while the simulation calculates.

- When the simulation is done,
 play the animation.
 Initially the flow is empty. Then a single pedestrian appears, and then another.
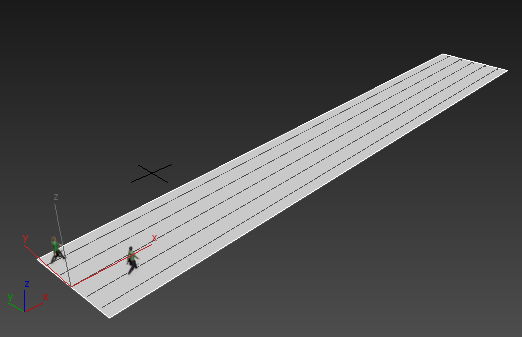
As the animation progresses, pedestrians appear more frequently.
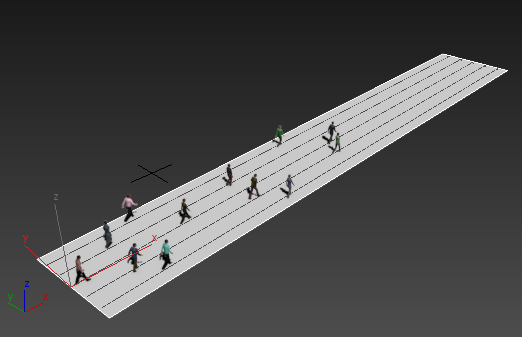
If the Modify panel is open while the animation plays, you can see the Density slider moving as well as the people in the viewport.
Animate the Running value:
- Turn on
 (Auto Key) once again, then click
  (Go To End).
 - On the
 Modify panel, drag the Running slider all the way to the right.
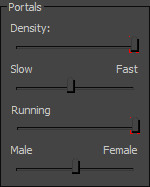
- Drag the time slider to frame 200.

- Drag the Running slider back to the left (no runners).
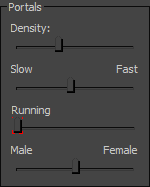
This prevents any runners from appearing in the simulation before frame 200.
- Turn off
 (Auto Key), then click
  (Go To Start).
Simulate again:
- On the Simulate panel, click
 (Simulate) once more.
 - When the simulation is done,
 play the animation.
 The animation begins as the previous animation did, but after frame 200 more and more runners appear.
