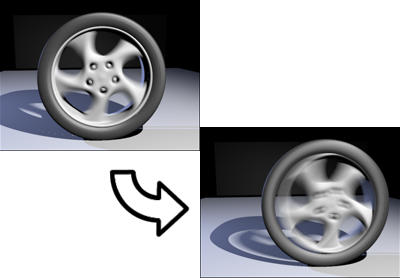
Motion blur is a way to enhance the realism of a rendered animation by simulating the way a real-world camera works. A camera has a shutter speed, and if significant movement occurs during the time the shutter is open, the image on film is blurred.

Motion blur added to rendering of an animated wheel as it speeds up and rolls forward
To render motion blur with the mental ray renderer, you must turn on ray tracing (the Ray Trace parameter) on the Render Setup dialog  Renderer panel
  Rendering Algorithms rollout.
The mental ray renderer uses a Shutter parameter to control motion blur. This simulates the shutter speed of a camera. At 0.0, there is no motion blurring. At 1.0, the maximum amount of motion blurring occurs. Values between zero and one adjust the amount of motion blur. The closer to 1.0, the greater the blurring.
You turn on motion blur and adjust shutter speed on the Render Setup Dialog  Renderer panel
  Camera Effects rollout.
If you render using shadow maps, then by default mental ray applies motion blur to these as well. See the Render Setup dialog  Renderer panel
  Shadows & Displacement rollout.