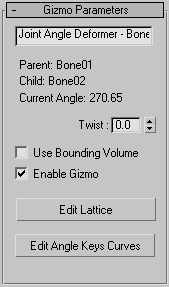
This rollout appears when you add a Joint Angle or Bulge Angle Deformer to the Skin modifier and highlight it on the Gizmos rollout.
Interface

These parameters apply to the Joint Angle and Bulge Angle deformers, which operate in similar ways. The difference is that the Bulge Angle deformer works only on vertices of the parent bone, while the Joint Angle deformer works on vertices of both the child and parent bones.
To apply either of these deformers, first select the child link, then select vertices on the mesh, and then apply the deformer. Remember to turn on Vertices in the Parameters rollout  Select group before region-selecting vertices in the viewports.
Once the deformer is applied, turn on Edit Lattice and move the lattice control points in the viewports to deform the mesh at different bone angles.
- [name field]
- Allows you to change the name of the deformer.
- Twist
- Allows you to spin the gizmo around the mesh to place control points appropriately.
- Use Bounding Volume
- Turn this on if you plan to change the geometry, like increasing segments on a cylinder. When the geometry changes, the mesh still deforms inside the lattice if this option is on.
- Enable Gizmo
- Toggles the effect of the gizmo.
- Edit Lattice
- Allows you to move the lattice control points in the viewports.
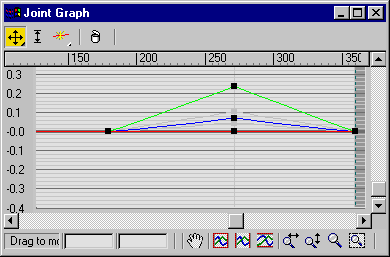
- Edit Angle Keys Curves
- Opens a curve editor that lets you manipulate the shape of the lattice at a particular angle. This curve is position vs. angle. It will show you the curves of the current selected points. The red curves are X, green curves are Y, and blue curves are Z.
