The Camera Tracker utility synchronizes a background by animating the movement of a camera inside 3ds Max to match the movement of a real camera that was used to shoot a movie.
Procedures
To generate a camera match-move:
- Open the working scene in 3ds Max.
The scene should have a Free camera to be match-moved, as the tracker does not create one. The scene also should have a set of Point or CamPoint helper objects positioned in 3D to correspond to the tracking features. Optionally install the movie as an environment map-based background image in the match camera viewport. This is needed if you want to render a composite using the match-move or checking match accuracy. This doesn’t automatically display the background image in the viewport. Use Views
 Background Image to select the background movie and display it in the viewport.
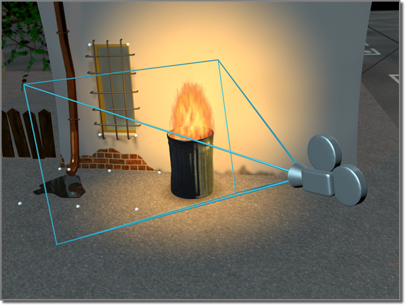
Real-world camera films a scene (the white dots will be tracking points).
- Open the movie file in the Camera Tracker utility and create a set of feature tracking gizmos for each of the tracking features in the scene.

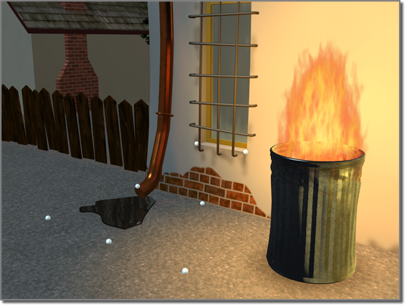
Resulting footage to be tracked and used as a background.
- Position the Feature Selection box and Motion Search box for each gizmo so that they’re centered on the features and have motion search bounds large enough to accommodate the biggest frame-to-frame move of the features throughout the frames that will be tracked.
- Associate each tracker with its corresponding scene point object.

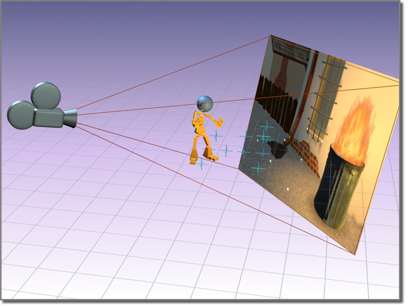
The associated scene point objects are set up in 3D space based on real-world dimensions.
- (Optional) Use the Movie Stepper rollout to set the start and stop frames for each tracker if it’s out-of-view for any of the frames that will be matched. These specify the frame range during which the tracker is visible in the scene and will be tracked as part of the matching process. This mechanism allows you to match a move in which the view passes through a field of features with only some of them (at least six) visible at any time.
- (Optional) Set up manual keyframes for each tracker at frames in which the feature radically changes motion or shape or is briefly occluded and so might be difficult for the computer to track. If you want, you can do this after a tracking attempt indicates where tracking errors occurred.
- Perform the feature track using the Batch Track rollout. This is often an iterative process: correcting for tracking errors by tuning start and stop frames or manually repositioning the gizmo and motion search boxes at error frames. When you reposition a gizmo at some frame, you establish a new target feature image and subsequent frames up to the next keyframe will be retracked. You can use the error detecting features in the tracker to step through possible tracking errors. When complete, this process builds a table of 2D motion positions for each feature. You can save this to disk using the Save button on the Movie rollout.
- Choose the camera that will be matched in the Match-Move rollout, select which camera parameters you want to estimate, set the movie and scene animation frame ranges and perform the match. This generates a keyframed animation of the selected camera parameters.

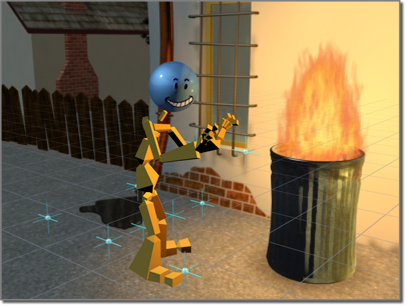
After camera tracking, scene geometry (the character) matches the filmed background.
- Check the match for obvious errors and review the tracker gizmo positions at these frames. You can manually adjust gizmos at these frames and the matcher interactively recomputes the camera position.
- (Optional) Apply smoothing to selected camera parameters and recompute a compensating match for the other parameters.
The Camera Tracker also has the ability to animate 3ds Max geometry to follow or match the video by following the movement of a tracker in a 2D plane. For this type of animation scene measurements aren’t required. Use the Object Pinning rollout of the Camera Tracker to create this type of tracking.