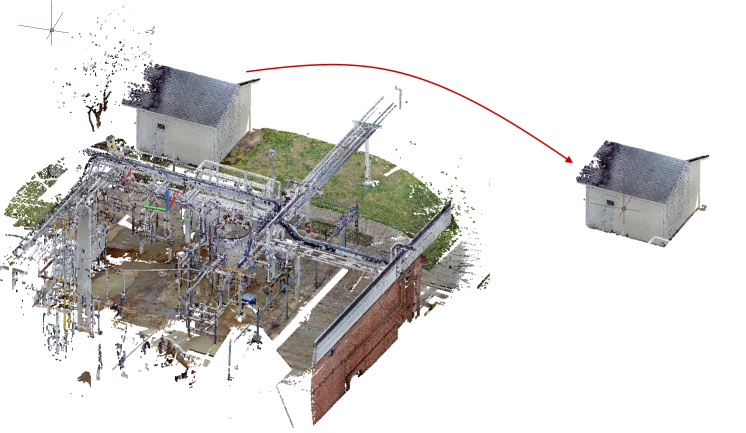
How to define rectangular, polygonal, or circular areas to crop, and how to invert, show or hide, or remove cropped areas.
Crop a Rectangular, Polygonal, or Circular Area

- In the drawing area, select the point cloud.
- Click

 . Find
 - Select the shape of the area you want to crop. Note: The cropping is created relative to the current view, not the current UCS.
- Select Rectangular. To specify a rectangular area.
- Select Polygonal. To specify a series of points to define a custom polygon shape. Press Enter to close the polygon.
- Select Circular. To specify the center point and radius of a circle.
- Specify whether to keep the points inside or outside the crop boundary.
Invert a Cropping
After cropping a point cloud, you can change whether to show the points inside the crop boundary or outside the crop boundary by inverting the crop.
- Select a point cloud with cropped areas.
- Click

 . Find

Show or Hide Cropped Areas
- Select a point cloud with cropped areas.
- Click

 . Find
Remove Cropped Areas
- Select a point cloud with cropped areas.
- Do one of the following:
- To remove the last cropped area, click

 . Find
 - To remove all cropped areas, click

 . Find
- To remove the last cropped area, click