There are a number of different Notch commands that allow the user to break a selected element and insert a notch anywhere along the selected element. These Notches are normally used can be used to display folding lines.
The Notches can be accessed by using the Menus and selecting New > Notch then selecting the desired Notch from the Sub Menu.
The different Notches available are described below:
Vee Notch (Shortcut: VEENOTCH)
Description: The Vee Notch command allows the user to break a selected element and insert a Vee Notch anywhere along the selected element.
- Open or draw a relevant part in Opus, in the example below a rectangle will be used.
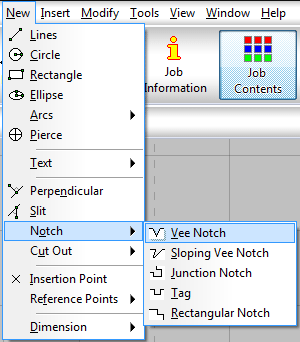
- From the menus select New > Notch > Vee Notch or type VEENOTCH in the Program
- At the Select Element prompt, click on the line that will have the Vee Notch inserted.
- You will be asked to select a Base Point, this will be the point that the Position of the Notch will be relatively offset from, this allows for accurate positioning of notches along an element.
- At the Position prompt, either click on a point on the element where the notch will be inserted or type in the relative (from the Base Point) coordinates of the Notch position.
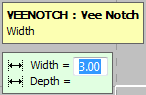
- Enter the required Width and Depth of the notch.
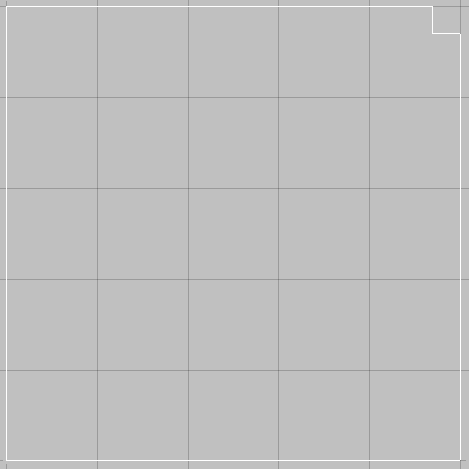
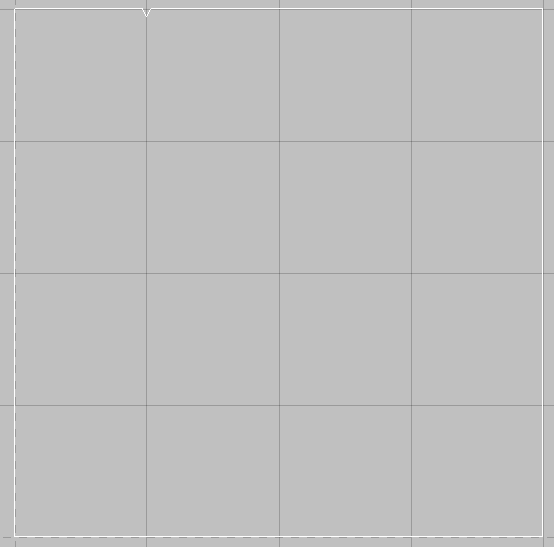
- Lastly Click on the side of the element where the notch is to appear on the Select Side prompt. The part will be redrawn with the notch inserted, as shown.
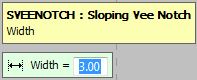
Sloping Vee Notch (Shortcut: SVEENOTCH)
Description: The Sloping Vee Notch command allows the user to draw a Vee Notch based on points selected and width, with the chosen element being broken to accommodate the notch.
- Draw or open a relevant part in Opus. In the example below, a rectangle is being used.
- From the menus select New > Notch > Sloping Vee Notch or type SVEENOTCH in the Program.
- At the Select Element prompt, click on the line that is to be broken.
- You will be asked to select a Base Point, this will be the point that the Position of the Notch will be relatively offset from, this allows for accurate positioning of notches along an element.
- At the First Point prompt, click on a point on the element where the Notch will be inserted or type in the Relative coordinates, from the selected Base Point, of the Notch position.
- At the Second Point prompt, click at the position or type in the Relative coordinates, from the First Point, where you want the Notch to end.
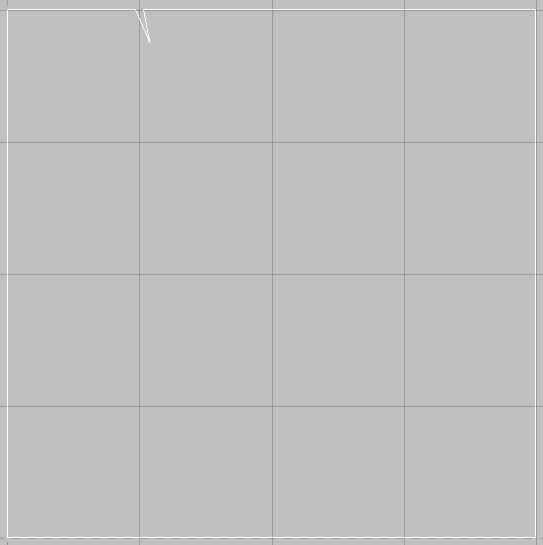
- Enter the Width of the required notch, and the part is redrawn with the Notch inserted, as shown below.
Junction Notch (Shortcut: JUNCNOTCH)
Description: The Junction Notch command allows the user to insert a complex rectangular notch into a selected element.
- In Opus, open or draw a part to insert the notch into. The example below uses a rectangle.
- From the menus select New > Notch > Junction Notch or type JUNCNOTCH in the program.
- At the First Element prompt, click on the first line to be notched.
- At the Second Element prompt, click on an adjoining line for the junction.
- Enter the Depth of the notch and press Enter
- Enter the Width of the notch and press Enter
- At the Select Side (Relative) prompt, click on the side that the notch is to be drawn. The notch will be drawn, as below.
Tag Notch (Shortcut: TAGNOTCH)
Description: The Tag command allows the user to insert a rectangular tag into the element.
- In Opus, open or draw a relevant part.
- From the menus select New > Notch > Tag or type TAGNOTCH in the program.
- At the Select Element prompt, click on the element that you want to insert the tag into.
- You will be asked to select a Base Point, this will be the point that the Position of the Notch will be relatively offset from, this allows for accurate positioning of notches along an element.
- At the Position prompt, click on a point anywhere along the selected element or type in the Relative coordinates, from the selected Base Point, of the Notch position. This will determine the Centre Point of the Notch.
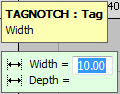
- Enter the tag Depth and press Enter
- Enter the tag Width and press Enter
- Click on the side of the element where the tag is to appear at the Select Side (Relative) prompt and the tag will be inserted into the selected element, as below.
Rectangular Notch (Shortcut: RECTNOTCH) Description:
The Rectangular Notch command allows the user to insert a rectangular notch on the corner of 2 selected elements.
- In Opus, open or draw a part to insert the notch into. The example below uses a rectangle.
- From the menus select New > Notch > Rectangular Notch or type RECTNOTCH in the program.
- At the First Element prompt, click on the first line to be notched.
- At the Second Element prompt, click on an adjoining line for the junction.

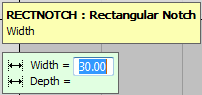
- Enter the Width of the notch and press Enter
- Enter the Depth of the notch and press Enter
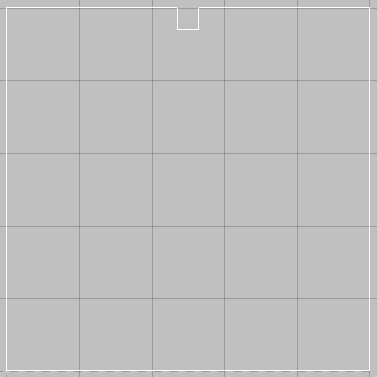
- The Notch will be drawn as shown below.