For a network deployment of Trackit, the Trackit software can be installed locally but would need access to the network which contains the Global Database, Reports and Projects which is then later mapped to these folders further on in this process.
The network database would be the Integrated database for CAD, CAM and Estimating which is normally stored on the network.
Run the Trackit installation and install into the required destination folder. Click the Trackit desktop icon after the installation is complete or browse to the installation folder and run the Utrackit.exe file.
For users having an issue with their license view the Trackit Licensing topic.
Within Trackit, there are options which have to be determined prior to using the Trackit software.
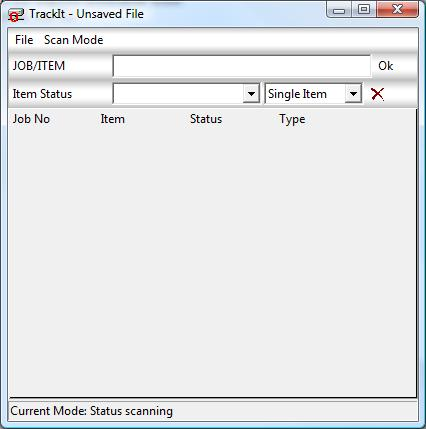
Select Scan Mode and then the Options menu item and follow the configuration instructions below:
General
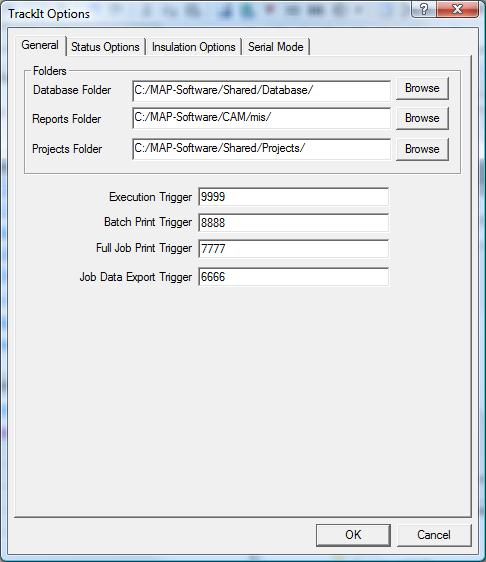
You can edit the paths for each of the folders ensuring these are linked to the master installation. Selecting the Browse button to the right of the paths enables you to navigate to the shared folders of the installation as shown in the example above. Database, Reports and Project folder are then all mapped accordingly. These can be network paths if applicable.
There is a need for configuring the application that Trackit will be running in conjunction with (e.g. CADmep, CAMduct or ESTduct) at this point of the configuration. This is so the status fields, reports and projects can be used by Trackit. Please see the Additional Software Configuration topic.
Copy the following folders from your master installation (CAMduct) to the Trackit installation:
- Database (Contains the latest Status entries)
- MIS (For Reports)
- Projects (If Required)