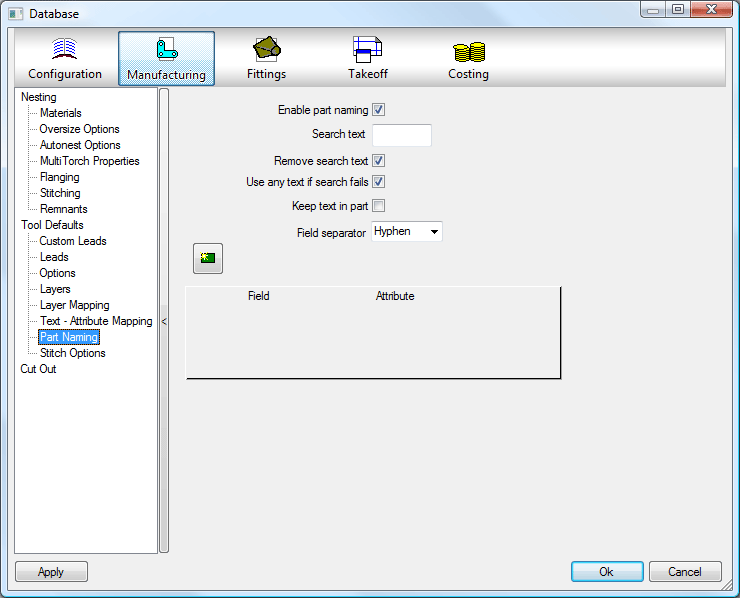
Part names are used to identify the different parts of an item within a job. To switch on Part Naming select File  Setup Database and click on the Manufacturing Part Naming section or select the Database icon from the Utility Bar.
- Tick the boxes as in the dialog below to ensure part names are included on parts imported from a .DXF file.
- Click Apply and Ok.
- ITSelect File Setup Database Takeoff and click on the Item Entry section.

- Ensure ' Auto-Increment Item Numbers' is not ticked.
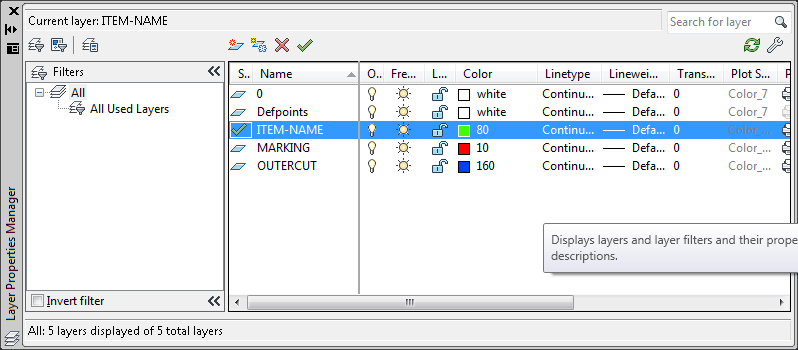
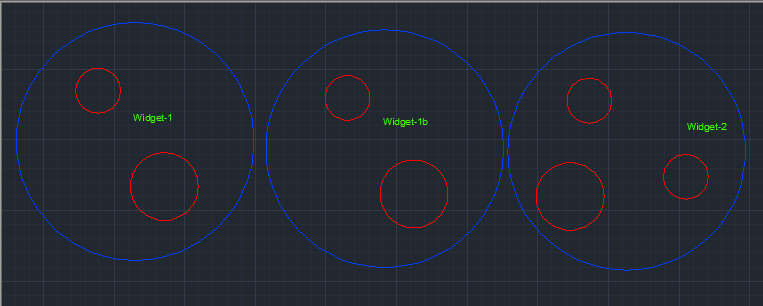
- The DXF File has been drawn with a layer called ITEM-NAME and have the Name of the Items written on the Parts.
- Select the import file from the appropriate folder (browse to find it if necessary) - ensure that the file imported is an AutoCAD .DXF file.
- Tick both ' Validate On Import' and ' Separate Items' boxes.
- Click on the Open button.
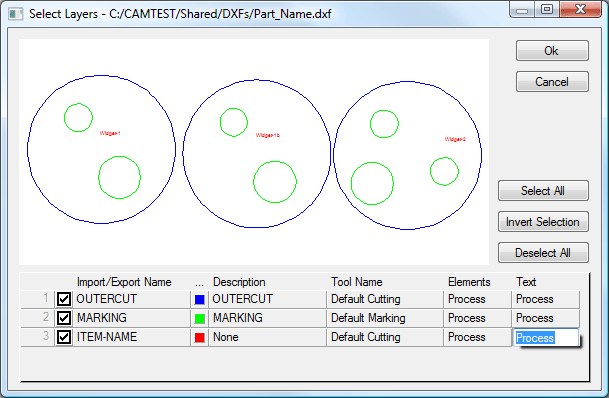
- If the part names are not displayed in the dialog box - ensure that the layer is set to ' Process'. Click in the box to cycle round the choices available.
- Click Ok.
- The Batch Import Information dialog is displayed - select the material for the parts from the choices available.
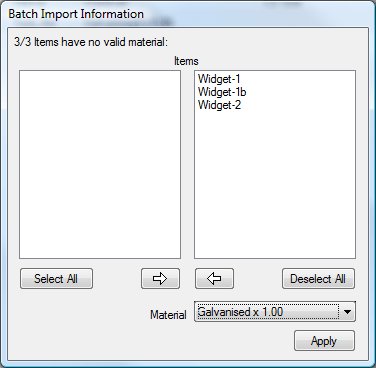
- Click Apply.
- The properties dialog box is displayed and if necessary, changes can be made to each part.
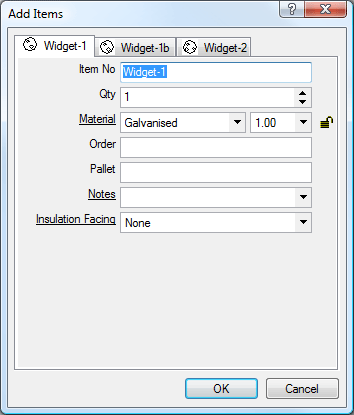
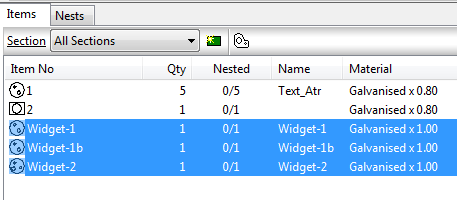
- Click Ok to accept the parts into the job. The items are placed in the job.
- When there are no more jobs to import select File Setup Database Item Entry.
- Tick ' Auto Increment Item Numbers'.