Cut outs allow for an island to be drawn inside another island, forming a hole. There are three choices available, Cut Out-Round, Cut Out - Rectangular, and Cut Out - Slotted Hole.
- Click New > Cut Out and select either Round, Rectangular or Slotted Hole options, or click on the Cut Out icon
 on the Toolbar, or type one of the shortcut commands listed below.
Round (Shortcut: CIRCCUT) Selecting the Round option allows the user to place a Round cut out into the drawing.
- Click New > Cut Out > Round or use the Round icon and the following dialogue box will appear.
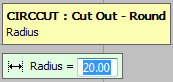
- Enter a Radius and press Enter
- The dialogue box will now read Pick Base Point. This can be selected by using the Mouse to pick the Base Point or by entering the relevant X Y co-ordinates in the program.

- Offset will now appear in the dialogue box, enter a set of X Y co-ordinate values or left click the mouse to accept the initial Base Point.
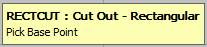
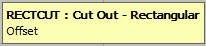
Rectangular (Shortcut: RECTCUT) In the same way as the Round option, this allows for a rectangle to be drawn, and is created in a similar way to the circular cut out.
- Click New > Cut Out > Rectangular or use the Rectangular icon
 and the following dialogue box will appear.
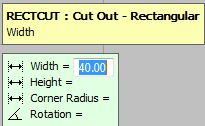
- In the Width and Height fields, enter the dimensions of the rectangle, use the Enter key to move through the dialogue fields.
- A Corner Radius can be applied by entering a Corner Radius value.
- The Rotation field allows the user to rotate the rectangle, on its centre axis, by the angle entered here.
- The dialogue box will now read Pick Base Point. This can be selected by using the Mouse to pick the Base Point or by entering the relevant X Y co-ordinates in the program.
- Offset will now appear in the dialogue box, enter a set of X Y co-ordinate values or left click the mouse to accept the initial Base Point.
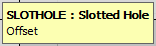
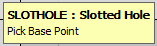
Slotted Hole (Shortcut: SLOTHOLE) In the same way as the Round and Rectangular options, this allows for a Slotted Hole to be drawn, and is created in a similar way to the previous cutouts.
- Click New > Cut Out > Slotted Hole or use the Slotted Hole icon
 and the following dialogue box will appear.
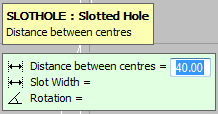
- In the Distance between centres field, enter the distance between the centres of the 2 circles that make up the ends of the slotted hole, use the Enter key to move through the dialogue fields.
- The Slot Width is the width of the minimum axis.
- The Rotation field allows the user to rotate the slotted hole, on its centre axis, by the angle entered here.
- The dialogue box will now read Pick Base Point. This can be selected by using the Mouse to pick the Base Point or by entering the relevant X Y co-ordinates in the program.
- Offset will now appear in the dialogue box, enter a set of X Y co-ordinate values or left click the mouse to accept the initial Base Point.