You can import data from other CAD systems in Inventor. Usually, the files open as solid bodies in the part environment. When surfaces and wireframe are imported, depending on options selected during import, they are placed in the Part, Repair, or the Construction environment.
There are differences in the tools and behavior of bodies in the Repair and Construction environment.
- Uses advanced diagnostic and healing tools.
- Participates in modeling operations and history.
- Does not participate in model history.
- Participate in modeling operations only if objects are copied to the part environment .
Workflow for importing files:
Open the model with all checking and healing options off to translate the file and view the results quickly.
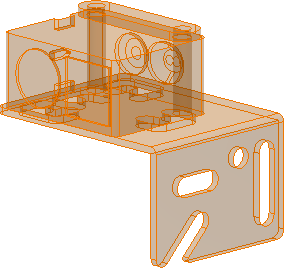
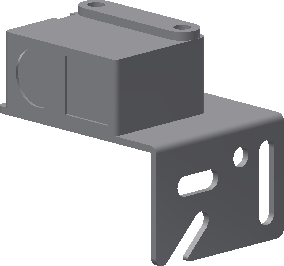
If the model has no obvious errors like the following image, close the file. Import using the options Import into Repair Environment, Multiple Composite Features, and Auto Stitch and Promote.

If the parts can be stitched into solids, the repair operation is complete.

If some or all of the imported bodies fail to solidify, repair the data after translation in the Repair environment. The tools in the repair environment provide you with the greatest amount of control over the tolerance values. You can also accept or reject changes to obtain optimum results.
Reopen the file and enable the option Import into Repair Environment. The model opens in the Repair environment.
If the repair environment option is not available, in the 3D Model tab, Surface panel, use the command Repair Bodies, and select a base body to activate the repair environment after translation. To enter the environment, in the browser, double-click the repair body.
Use the Repair environment to analyze the quality of imported data and repair surfaces or solids for use in part modeling. After data is repaired, the repaired body participates in the model history.
- Self intersecting surfaces or curves
- Intersecting faces
- Modeling uncertainty (miscellaneous topology and geometry errors)
- Irregular surfaces
- Face normal direction is pointing the wrong way
- Gaps between surfaces
- Holes in surfaces
- Overlapping faces
You can detect and repair these errors using specialized tools found in the Repair environment.
Find Errors examines the selected bodies for errors in topology, geometry, and modeling.
-

-
Healthy geometry.
-

- Geometry requires further checking.
-

- Geometry contains errors and requires repair.
Use the surface tools to repair data not fixed by the Heal Errors command.