In this step, we open the electronics enclosure model into Autodesk® CFD.
1. Start Autodesk® CFD, and click New.


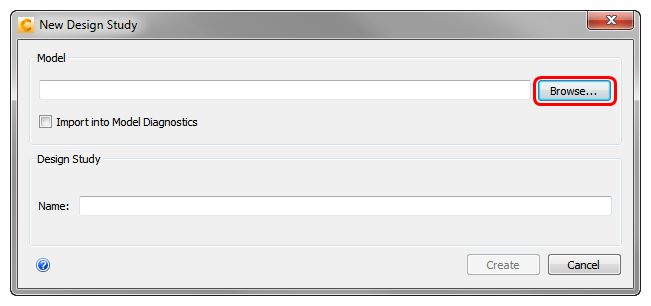
2. On the New Design Study dialog, click Browse...
3. Navigate to C:\Users\Public\Public Documents\Autodesk\CFD 2016\Tutorials\Quick Start\Electronics Cooling, and select Electronic-Cooling-model.sat. Click Open.
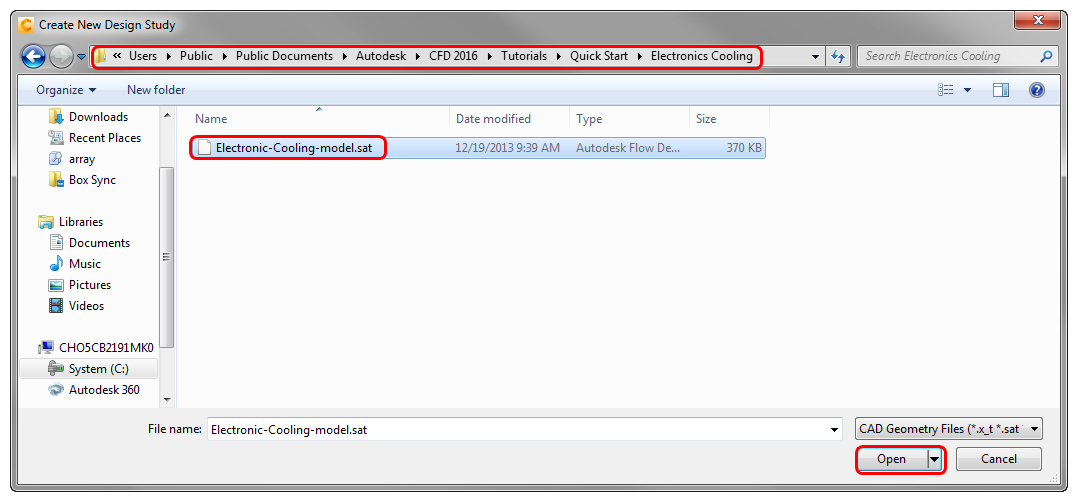
Using CFD Flex?
Navigate to C:\Users\Public\Public Documents\Autodesk\CFD 2016 Flex\Tutorials\Quick Start\Electronics Cooling.
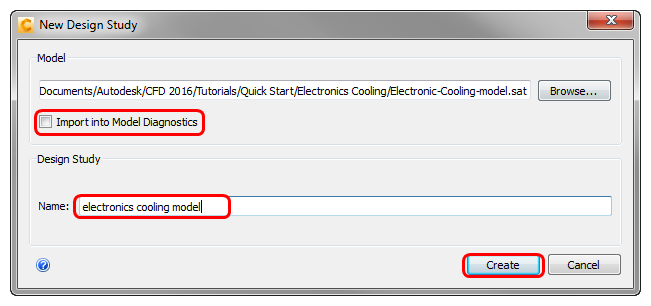
4. On the New Design Study dialog, enter the design study Name, make sure Import into Model Diagnostics is unchecked, and click Create:
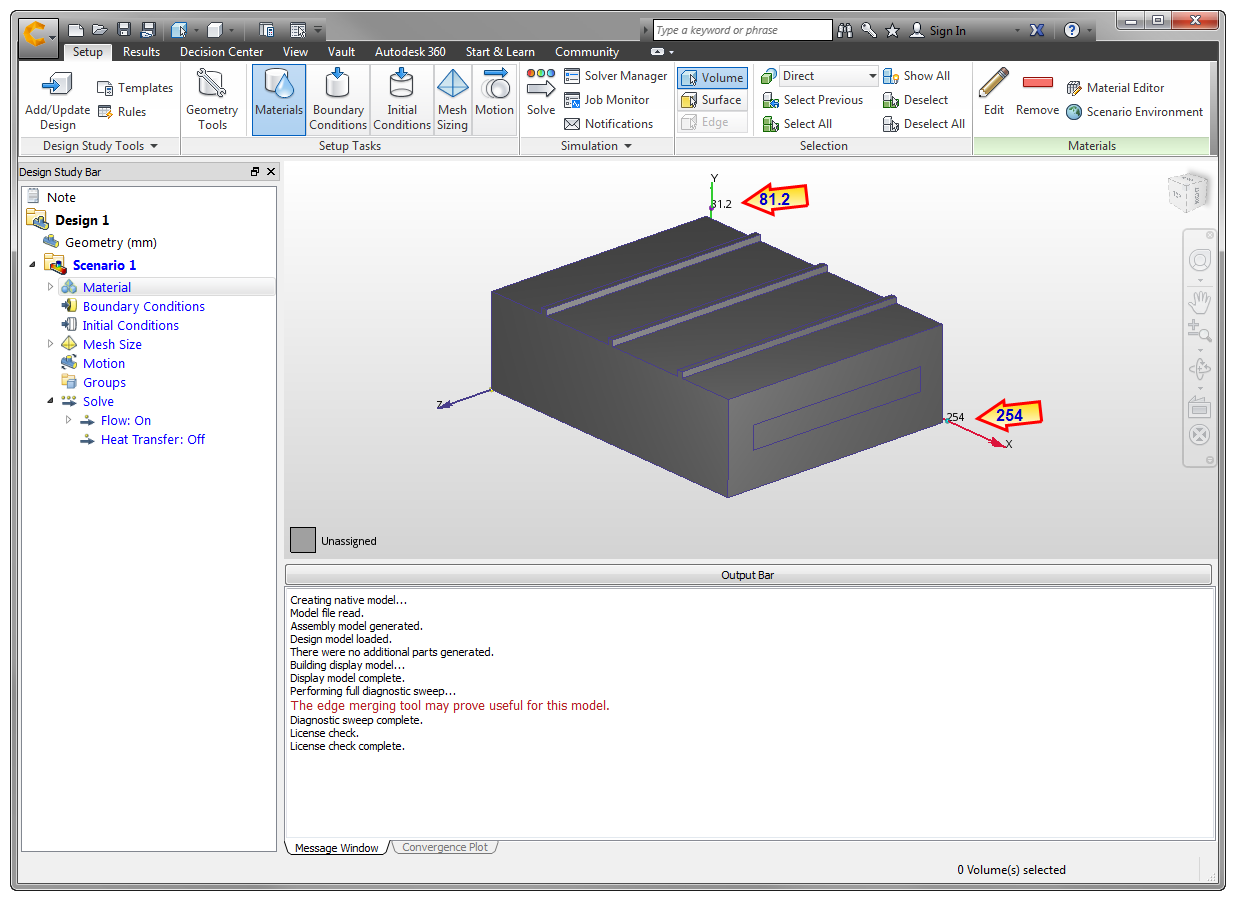
5. You will probably see a dialog called "Geometry Tools." Close it by click the "X" in the top right corner. This dialog indicates that small edges were found, but we will not merge or remove them because they are an intentional part of the model.
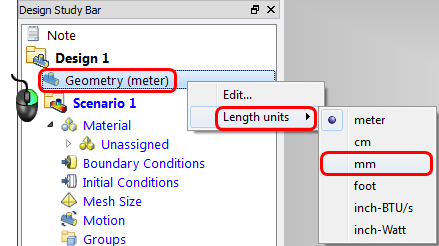
6. The geometry imports in units of meters, but we need to convert it to mm. To do this:
- Right click on the Geometry branch of the Design Study Bar, select Length units, and click on mm.
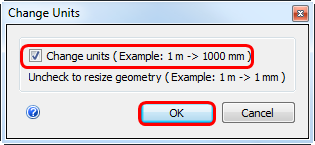
- On the Change Units dialog, make sure Change Units is checked, and click OK.
What it should look like:
Autodesk® CFD starts, and you should see the model. Note the dimension values on the axes: