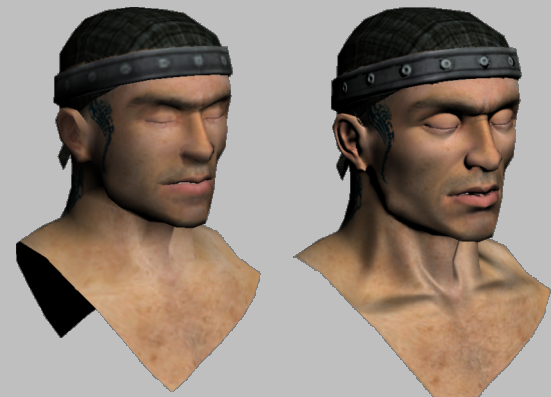
Normal Bump Mapping using cage projection also involves a source and target object.
In this tutorial, you will create a cage object and form it to fit the contours of the target, a low-resolution model of a human head. You will then use the cage to receive the diffuse and normal bump map information from the source, a high-resolution version of the model.

Model of a warrior with diffuse map only (left) and with normal map applied (right)
In this tutorial, you will learn how to:
- Use Render To Texture to create a normal bump map.
- Use the Projection modifier to “steal” detail from a high-resolution mesh.
- Use the Normal Bump map type to render the effects of a normal bump map.
Skill level: Intermediate/Advanced
Time to complete: 1 hour
Preparation for This Tutorial
- If you have not already downloaded the tutorial files (MAX scenes and other assets), download them now and unzip them into a project folder called \Autodesk 3ds Max 2016 tutorials. See Where to Find Tutorial Files.
- On the Quick Access toolbar, click
 (Project Folder) and set your current project to Autodesk 3ds Max 2016 Tutorials.