Interpolation defines the shape of an animation curve between keyframes. You can choose from the following interpolation settings depending on how you want the channel values to change over time.
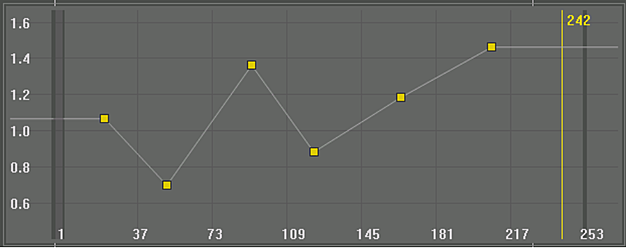
- Linear
- Joins keyframes with a straight line.
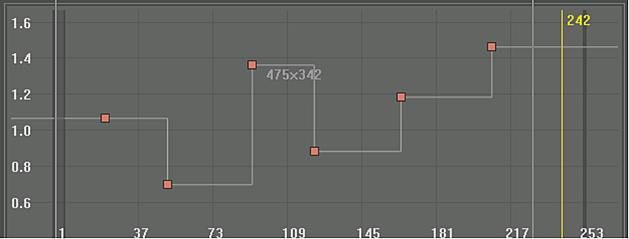
- Constant
- Produces a square curve. The value of one keyframe is held at a constant value until the next keyframe. This setting can produce abrupt changes between keyframes.
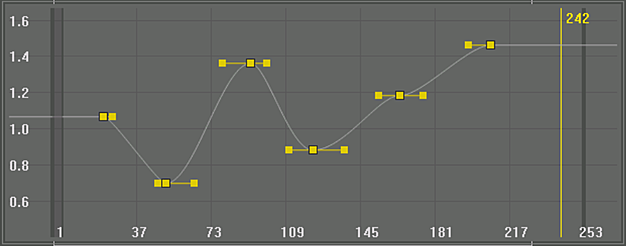
- Hermite and Bezier
- Produces a smooth curve with a smooth transition between keyframes. Each keyframe on the animation curve has an associated tangent handle. You can change the shape of the animation curve by dragging the tangent handle. Bezier requires fewer keyframes than Hermite to produce a similar curve. This is because there are two tangents at each keyframe: one incoming, one outgoing.
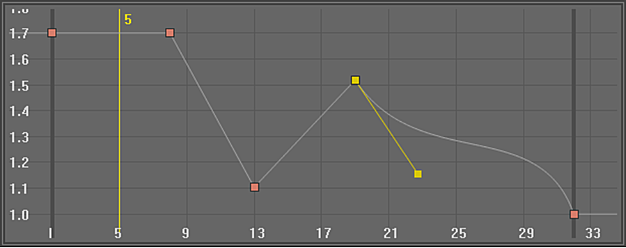
Note: You can create animation curves with mixed interpolation types.
To set the interpolation type for a keyframe:
- Display the Channel Editor.
- Select the keyframe for which you want to set the interpolation.
- In the Animation controls, select the type of curve from the Interpolation Mode option box.
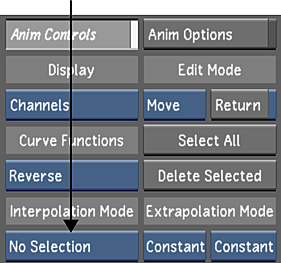
To create an animation curve with mixed interpolation:
- Create an animation with at least four keyframes. Do not worry about the interpolation setting at this point.
- Display the Channel Editor.
- Make sure you are in Move mode and then select the first keyframe. See Editing Keyframes.
- Select Constant to set the interpolation for the first keyframe to Constant.
- Select the second keyframe.
- Select a different interpolation mode, such as Linear.
- Select the third keyframe, and then select a different mode, such as Bezier.
Your animation curve may resemble the following.
