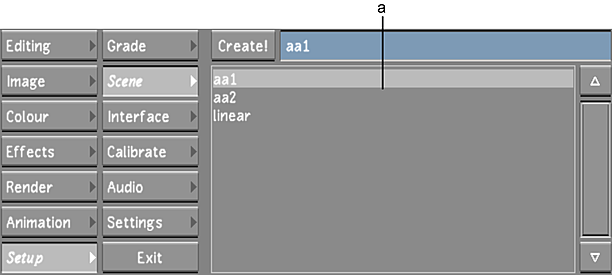
A scene is used to organize your libraries within a given project. A scene called "default" is automatically created with every new project. You can create as many scenes as needed per project.
Each Scene folder contains the following folders:
- Audio
- Grade Bin
- Library: this contains all the metadata such as cuts and grades files.
To create a scene:
- In the Main menu, click Setup, and then click Scene.
The Scene menu appears.

(a) Scene list
- Enter a name for the new scene in the Create Scene field. If there is already a name in the Create Scene field, delete it and then enter the new name. This does not affect the existing scene. Note: You can create a scene with the name of an existing sub-directory of the Project Home; in this case, Lustre recognizes the directory as a scene and places the required scene metadata directory inside it.
- Click Create.
The new scene is added to the Scene list. It is highlighted in grey, indicating it is the currently selected scene.