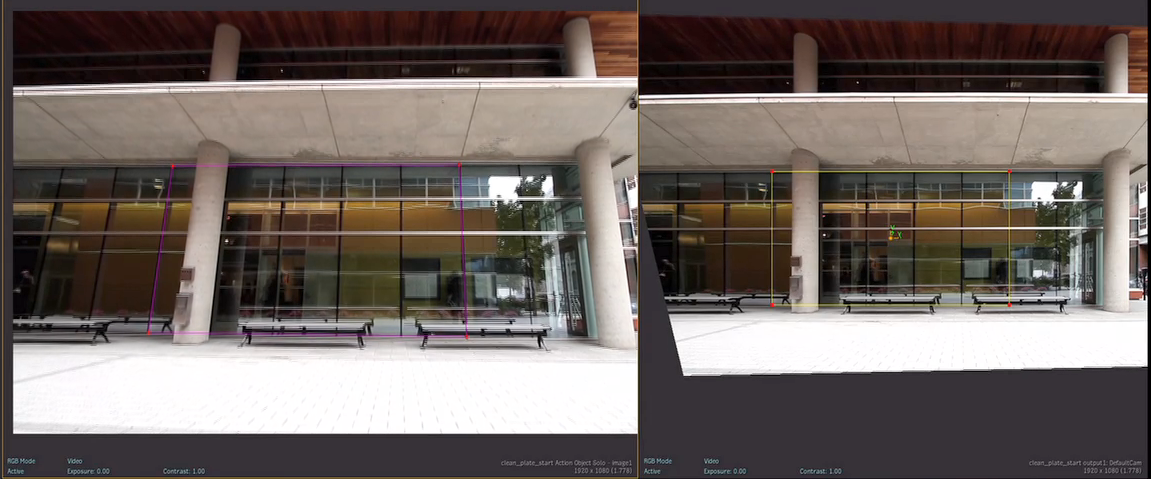
Track a perspective surface to straighten out elements captured at an angle in the scene, to insert surface elements within a scene with camera motion and for logo replacement.
With perspective tracking, you have the ability to either track the perspective using the Vertices or to correct and stabilize the perspective using the UV Points.
See Stabilizer Menu Settings for an overview of the settings and options in the Stabilizer.
To track the perspective motion:
- Load front and back clips in Action.
- Double-click the image node in the schematic to display the Surface menu.
- Select Perspective from the Surface Type box.
- Click the Vertices tab to display the Stabilizer button and tracking options, to track the Vertices relative to the background (track the perspective).
- Select Perspective from the Tracking Mode box.
This tracking mode allows you to add as many trackers as you want and position them in the same plane as your surface, to cover as much of the perspective transformation as possible.
- Click Stabilizer.
The Stabilizer menu is displayed.Note: The Position, Rotation and Scale settings of the vertices or UV points in Z are reset when entering the Stabilizer.
- Position and add trackers on the background clip, as needed.
- Gang the trackers.
- Enable Auto Update Reference.
- Click Analyze to generate the tracking data.
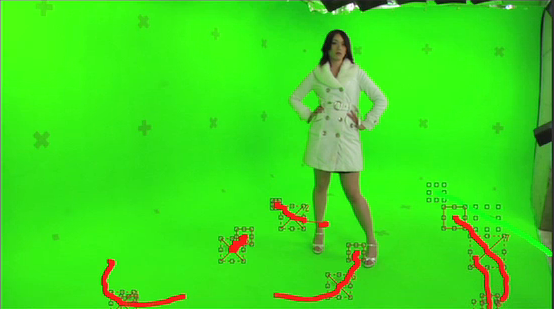
The motion is tracked
- Exit the Stabilizer.
The Surface menu in Action reappears. The tracking data is automatically applied to the perspective surface.
- From the Surface menu, extrapolate the surface in X and Y, as needed.
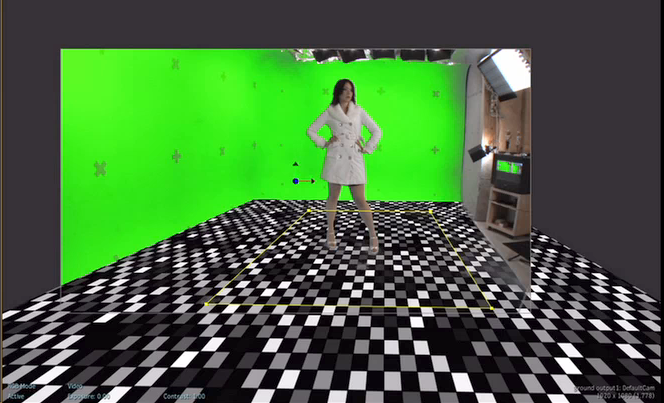
- Enable Edit Track in the Vertices menu to edit tracking data directly from the image window without having to switch to the Animation channel. The vertices are displayed in blue when Edit Track is enabled.
To correct and stabilize the perspective:
- Access the Surface menu.
- Select Perspective from the Surface Type box.
- Position the UV points to isolate and correct the perspective on the desired portion of the shot.
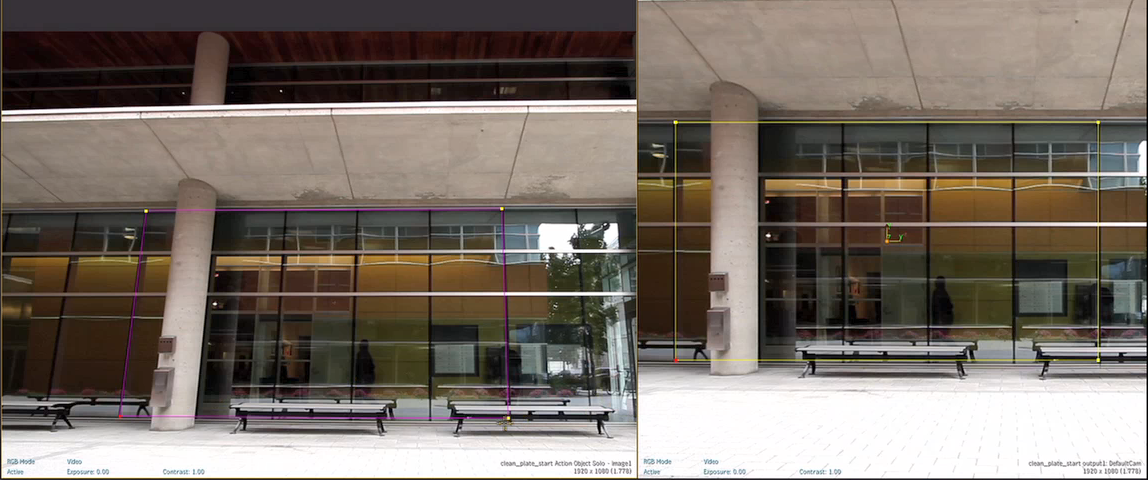
- Select the four UV points.
- Click the UV Points tab to display the Stabilizer button and the tracking options.
- Select Perspective from the Tracking Mode box.
This tracking mode allows you to add as many trackers as you want and position them in the same plane as your surface, to cover as much of the perspective transformation as possible.
- In the Stabilizer Option box, make sure Track is selected.
- Click Stabilizer.
The Stabilizer menu is displayed.Note: The Position, Rotation and Scale settings of the vertices or UV points in Z are reset when entering the Stabilizer.
- Add trackers and position them as needed.
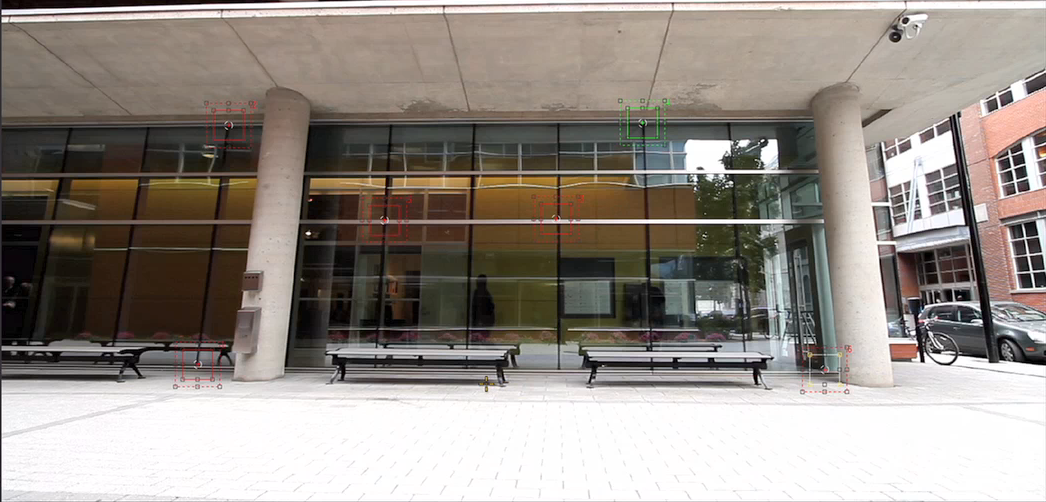
- Gang the trackers.
- Enable Auto Update Reference.
- Click Analyze to generate the tracking data.
The motion is tracked.
- Exit the Stabilizer.
The perspective is corrected and stabilized.
