Use the following examples of Lightbox preset shaders to get a feel for the workflow of using different types of Lightbox effects in Action.
Combining Multiple Lights with Lightbox
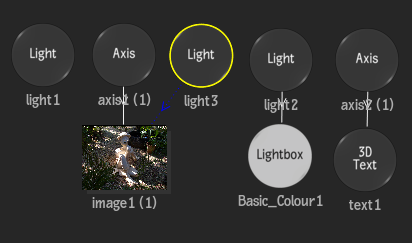
A common scenario that you may encounter when working with Lightbox is how to combine images that you don't want to shade with a geometry that you do want to shade. You can use selective lighting links and the Priority Editor to solve this issue.
 |
 |
- Light 1 is a global light, set to Additive Light in the Light Source box.
- Light 2 is the parent of the Lightbox node, and is not set to Active.
- Light 3 is connected to the image node with a Light Inclusion link; the Light Type is Ambient, with the Shade set to 0%, and the Light source box set to Solo Light.

- These settings, when combined with Light 3 appearing in the Priority Editor after Light 1, produces the desired effect.

Lightbox Selectives Presets
The goal when using the Selective 3D or Selective Noise 3D Lightbox shader is to create an alpha to use in the next Lightbox node in the pipeline.
 |
 |
Some tips for working with Lightbox Selective nodes:
- Add the Selective node as the first Lightbox to affect other Lightbox nodes that you can add later. It should appear at the bottom of the Priority list for the selected Light.
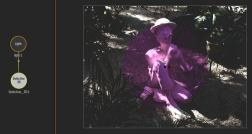
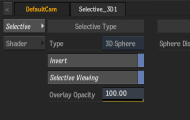
- Enable Selective Viewing in the Selective menu to display the selected area in magenta. Don't forget to disable Selective Viewing when you are done setting the selection.
- Choose a type of selective to create, such as 3D Sphere or 3D Cube for a Selective 3D node, or a noise type for a Selective Noise 3D node, and adjust other settings, as necessary. Enable Invert, if needed.
- Once the Selective is created, disable Selective Viewing, and add other Lightbox nodes under the same Light. The effect of this new Lightbox node only occurs in the Selective area that you created in the Selective node:
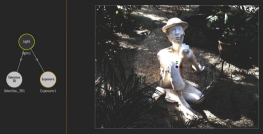
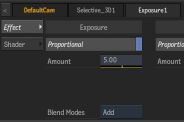
- You can have more than one Selective node parented under a Light. The Selective areas created by all the Selective nodes are combined to create one alpha selection.
Environmental Lightbox Presets
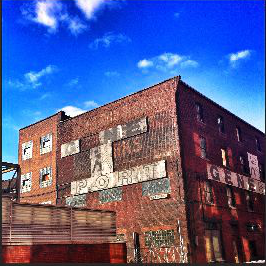
You can use the Clouds and Fog Lightbox presets to simulate these environmental conditions in your Action scene.
 |
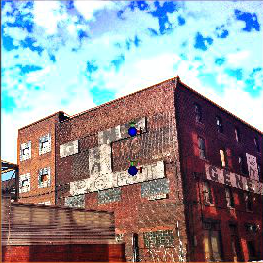 |
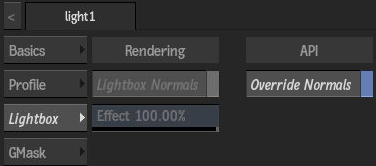
For these effects, you do not want to use the normals attenuation from the parent Light, so make sure that the Override Normals button is enabled in the Lightbox tab of the Light menu. The state of this button can be coded directly in the shader (it is enabled by default for the Clouds and Fog presets). 