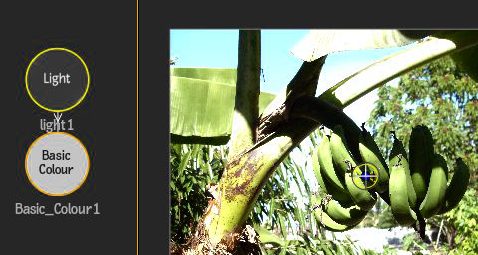
A Lightbox node, once parented to a Light in the Action schematic, allows a casting of fragment-based colour effects through the light cone (whether the light is active or not), respecting every aspect of light behaviour, including shading, decay, and feathering. Lightbox nodes can be useful in the lighting pipeline to develop a look at the scene level of Action, or to help with blue screen or green screen work.
Lightbox effects are based on the OpenGL Shading Language (glsl) programming language and can be created by users to use in Action, or to share with other Flame Premium users (a number of preset and example shaders are also available). For this reason, a Lightbox API is available at http://docs.autodesk.com/flamepremium2016/shader_builder_api_guide_2016.pdf, that allows you to access Action scene information (such as distance, normals, camera position, and other 3D environment variables).
To add a Lightbox node in Action:
- Do one of the following:
- With a Light node selected in the schematic, double-click the Lightbox node in the All Nodes or Relighting bin.
The file browser opens to allow you to select a Lightbox effect. When selecting a shader from the file browser, you can use the File Format box to display shaders in .glsl format or encrypted Lightbox .lx format.
- With a Light selected in the schematic, double-click a Lightbox preset node from the dynamic
Lightbox node bin.
The Lightbox node is added to the scene as a child of the selected Light. If no light was selected prior to adding the Lightbox node, a new Light is added to the scene as the parent of the Lightbox node.
 Tip: Lightbox nodes are displayed as white in the schematic to help you identify them. If you added the Lightbox from the dynamic node bin, the name of the effect also appears on the node in the schematic.
 - With a Light node selected in the schematic, double-click the Lightbox node in the All Nodes or Relighting bin.
- Double-click the Lightbox node in the schematic to display its menu.
The Lightbox node populates the menu dynamically, based on the .glsl (and .xml) code, but there are a few UI elements that are constant, located in the Shader tab.
- If you added a Lightbox effect from the All Nodes or Relighting bin, you can change the effect by clicking Change Shader in the Shader tab of the Lightbox menu.
Lightbox Usage Tips
- Multiple Lightbox nodes can be parented under the same Light, and the order of processing can be controlled in the Light
Priority Editor.
Since multiple Lightbox nodes parented under the same Light node respect a priority order, you can create a pipeline of Lightbox effects. For example, you can use a Selective 3D Lightbox shader to create a selective, then apply a second Lightbox shader, such as Colour Correct to affect only the selected areas.
- A GMask (or multiple GMasks) connected to the parent Light with a selective GMask Link can help you create interesting effects, where the Lightbox is cast through the GMask shape. You can track the GMask, and combine GMask Links with Look At Links and Replica nodes to easily build a composite, such as simulating sunlight shining through windows.
- Lighting links can be useful to connected Lightbox nodes in creating inclusive or exclusive constraints.
- Use the Action Object Solo (F8) view on the parent light to see the scene through the point of view of the light, as if it was a camera. The F8 view also allows you to interact directly in the image window with icons, if they are present in the shader.
- A folder is available in the channel editor for each Lightbox effect in your Action scene.
- Apart from the Lightbox menu with its dynamic settings generated from the .glsl code, there are a number of settings in the
Light menu that can help you set up your Lightbox effect (mostly in the Rendering section of the Basics tab, and in the Lightbox tab of the Light menu). By default, when a new Lightbox node is added to the scene with a new Light, the light is inactive, and global shading and Scene Ambient settings are set to active.
Note: When the parent Light is inactive, certain Light settings are unavailable, such as colour and intensity.