When tracking an extended bicubic surface, trackers are placed on each vertex or UV point, enabling you to track complex surfaces that move in 3D space. This is useful for tracking non-rigid objects like faces, bodies, cloth, etc. Extended bicubic tracking is particularly well suited for these types of deformations, as the vertices and the UV points are tracked individually.
With extended bicubic tracking, you use multiple trackers in the Stabilizer, based on the number of subdivisions applied to the surface. This generates tracking data for anchoring the vertices of an extended bicubic surface to the background clip or for anchoring the UV points to the extended bicubic surface.
See Stabilizer Menu Settings for an overview of the settings and options in the Stabilizer.
To perform extended bicubic surface:
- Load front and back clips in Action.
- Double-click the image node in the schematic to display the Surface menu.
- Select Extended Bicubic from the Surface Type box.
- Subdivide the surface, and position the vertices or UV points as needed.
- Do one of the following:
- To track the Vertices relative to the background, click the Vertices tab to display the Stabilizer button and tracking options.
- To track the UV points of the surface to features of the clip, click the UV Points tab to display the Stabilizer button and tracking options.
- Select a tracking mode. Options are:
- Each Point: Track the surface using a tracker for each selected vertex or UV point.
- Pos/Rot: Track the surface using two proxy trackers that extrapolate the position of the selected vertices or UV points, based on changes in the position and rotation.
- Pos/Scale: Track the surface using two proxy trackers that extrapolate the movement of the selected vertices or UV points, based on changes in the position and scaling.
- Pos/Rot/Scale: Track the surface using two proxy trackers that extrapolate the movement of the selected vertices or UV points, based on changes in the position, scaling and rotation.
- Click Stabilizer.
The Stabilizer menu is displayed.Note: The Position, Rotation and Scale settings of the vertices or UV points in Z are reset when entering the Stabilizer. A notification appears on the screen when this is the case.
- Do one of the following:
- Position the trackers on the background clip (Vertice tracking).
- Position the trackers on the surface texture (UV points tracking).
- Gang the trackers.
- Enable Auto Update Reference.
- Click Analyze to generate the tracking data.
- After the analysis is complete, click Return.
The Surface menu in Action reappears. The tracking data is automatically applied to the surface or texture.
- Enable Edit Track in the Vertices menu to edit tracking data directly from the image window without having to switch to the Animation channel. The vertices are displayed in blue when Edit Track is enabled.
Extended Bicubic SurfaceTracking Example
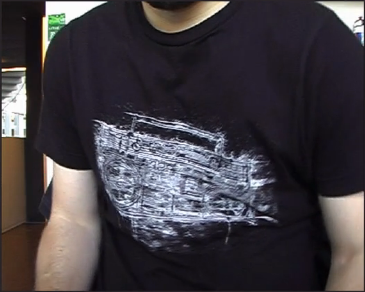
Image courtesy of P. Fua, CVLab, EPFL, Switzerland
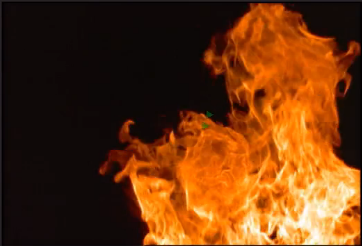
Proceed as follows:
- Load front and back clips in Action.
- Select the Fire clip in the Media list and double-click the image proxy to add it to the scene.
- Access the Surface menu and select Extended Bicubic.
- Access the Vertices menu, select all of the vertices and scale the image to match the t-shirt.
- Adjust the four corners to match the t-shirt.
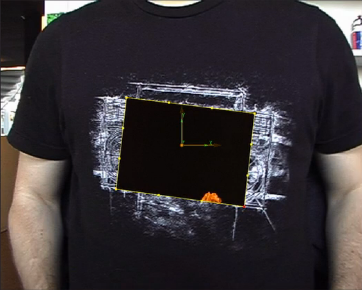
Image courtesy of P. Fua, CVLab, EPFL, Switzerland
- Because the t-shirt deforms much more than the four corners, subdivide the surface, by clicking the Subdivide button twice.
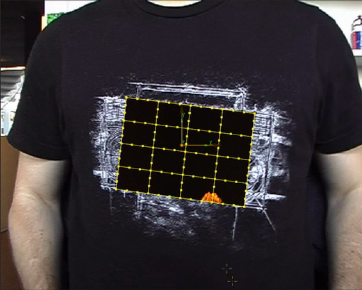
Image courtesy of P. Fua, CVLab, EPFL, Switzerland
- Select Each Point from the Tracking Mode box.
- Select all of the vertices.
- Enter the Stabilizer.
We have one tracker for each vertex.
- Gang the trackers.
- Enable Auto Update Reference.
- Adjust the tracker size, to adjust the sampling area. In this case, we want to make them a little bit bigger.
- Press Analyze.
The motion is tracked.
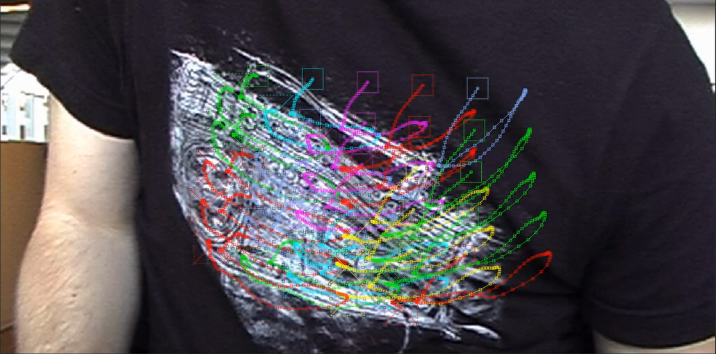
Image courtesy of P. Fua, CVLab, EPFL, Switzerland
- Exit the Stabilizer.
The fire surface organically follows the t-shirt displacement.
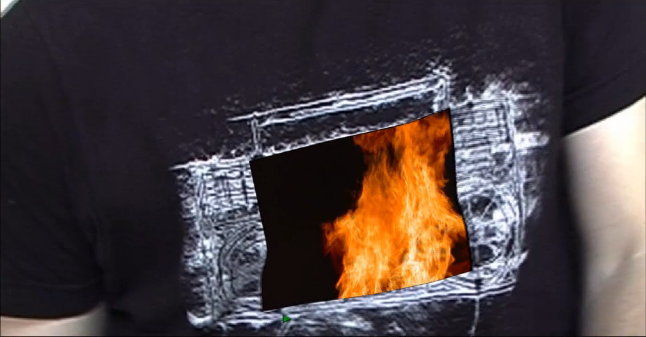
Image courtesy of P. Fua, CVLab, EPFL, Switzerland