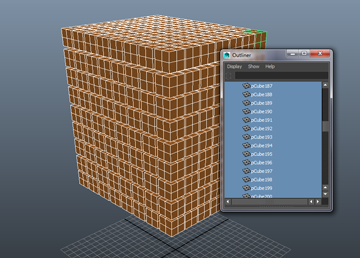
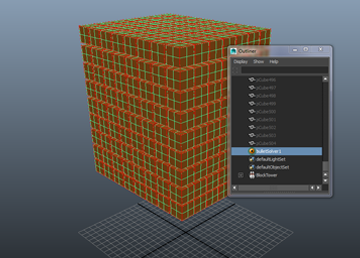
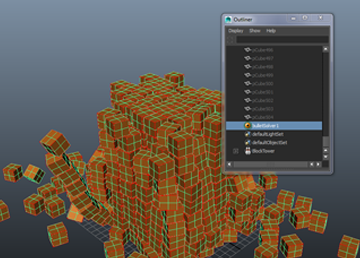
When you work with simulations that rely on numerous objects in the solve, for example, a wall made of thousands of bricks, it can significantly affect the performance of the simulation. Additionally, it can be tedious to select each object in the Outliner. In these cases, it is best to create a Rigid Set that comprises all of the Rigid Body objects included in the solve.
- There is no rigid set support for compound and auto-compound collision shapes.
- Freeze scaling before you create a Bullet Rigid Set. Scale transform values are not correctly transferred to the resulting solved object .
To create a Rigid Set from multiple objects:
- Open the Outliner and
 -select all the objects or groups you want to include in the solve. If you select a group, all non-intermediate mesh shapes found under the group are added as a rigid body.
- Go to Bullet > Create Rigid Set >
 . Creating a Rigid Set groups all the selected objects so you can select them quickly in the Outliner. Note: If you run the Create Rigid Set from the Bullet menu with a single group node selected, it can use the name of the group node + "set". If a node already has that name, Bullet tries {objectName} + "set" + 1 and so on, until it finds a unique name. if you use multiple selection, it will fail if you do not provide a unique name.
 - Set a Name for your collection of objects, and choose Create Input Set and/or Create Output Mesh, and click Apply and Close. See Rigid Sets Menu for more information on these settings.
- Select the Solver in the Outliner, and turn on
Bounding Box
in the Solver Display options in the Attribute Editor to see the collision boundaries.

- Turn on Ground Plane so that your objects will collide with a surface.
- The output mesh is used to visualize the simulation.
- Press Play to watch the simulation.

You can also export a mesh shape using an Alembic cache, which can reduces a 50 000-object scene into one single large mesh, although you need to manually reconnect the materials and shaders. See Render a Bullet simulation with Alembic for more information.
You can edit the Bullet physics attributes for the rigid set in the Attribute Editor by locating the associated Initial State node which is found under the Bullet Solver Shape node in the Outliner.